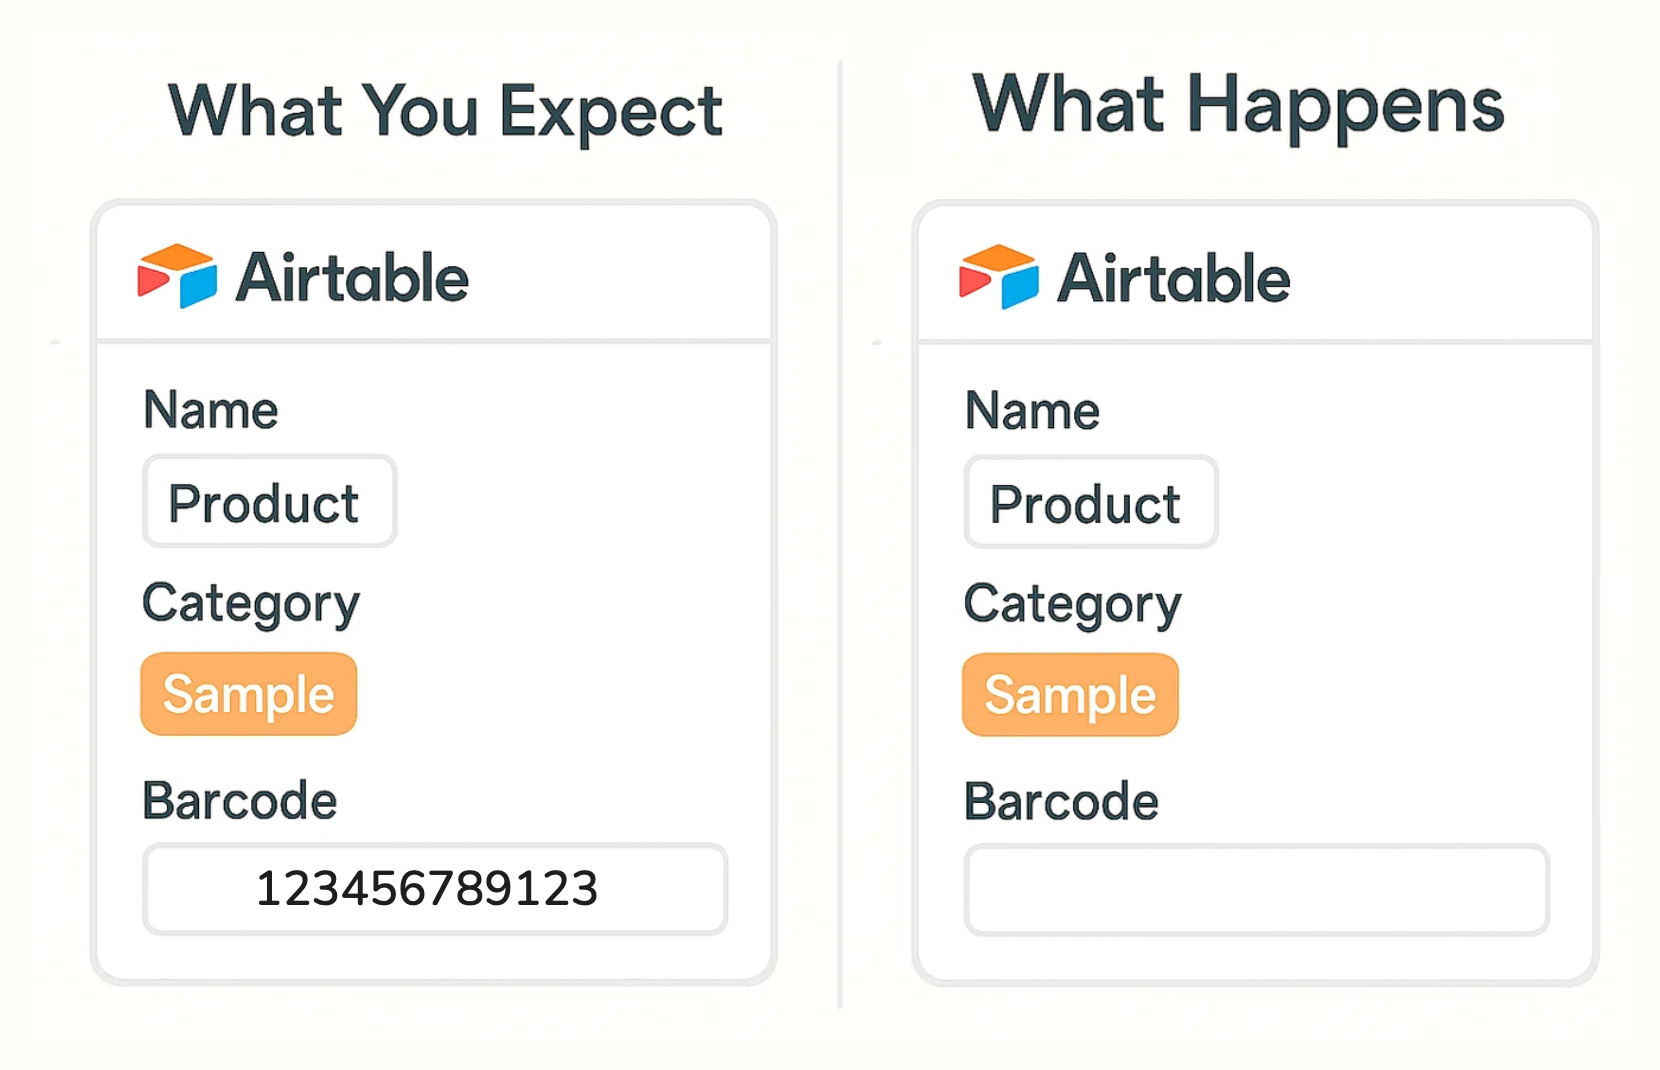
If you're managing inventory, equipment, assets, or event check-ins, Airtable's barcode field can be incredibly useful. A common setup is to automatically generate a unique barcode whenever a new record is created, so every product or asset receives a scannable code without any manual work.

The catch is that Airtable scripts cannot write directly to Barcode fields. This is an API-level restriction, not a bug in your script. The value gets generated correctly, but Airtable will not save it when the script tries to update the Barcode field. The same value written to a Single Line Text field works perfectly fine.

The fix is straightforward: the script's only job is to produce the barcode value and expose it as an output. A separate Update Record action in the automation then writes that value into the Barcode field. This two-step pattern applies any time an automation needs to generate a value first and store it somewhere Airtable restricts direct script writes.

Airtable automation workflow showing new record creation, script output, and barcode generation

The Correct Automation Setup

Your automation should have exactly three steps:

  1. Trigger: When record is created
  2. Action: Run script (generates the barcode value)
  3. Action: Update record (writes the value to the Barcode field)

Step 1: Generate the barcode value in the script

let barcode = Math.floor(
  1000000000000 + Math.random() * 9000000000000,
).toString();

// output.set makes the value available to the next automation step
output.set("barcode", barcode);

This generates a random 13-digit number and passes it out of the script under the name barcode. Without output.set, the next step has nothing to read.

One edge case worth knowing: Math.random() can theoretically produce a number that, after Math.floor, starts with zero and falls below 13 digits. To guarantee exactly 13 digits every time, the formula above uses 1000000000000 as the minimum, which keeps the leading digit at 1 or above.

Step 2: Update the record

After the script action, add an Update Record action. Select the same record that triggered the automation, then map the script output named barcode to your Barcode field. Airtable handles the rest.

Sequential vs Random Barcodes

Before choosing a format, it helps to know what each one is good for.

Use sequential barcodes when you want codes that are easy to audit, easy to read when printed, and easy to troubleshoot if something goes wrong. Sequential codes make it obvious roughly when a record was created and are simple to verify by eye.

Use random barcodes when you specifically do not want the code to reveal volume or sequence, for example when sharing codes externally and preferring they not be guessable.

For most Airtable bases, sequential is the better default.

The simplest sequential approach is an Autonumber field combined with a formula:

"SKU-" & RIGHT("000000" & {Autonumber}, 6)

This produces values like:

SKU-000001
SKU-000002
SKU-000003

You can then pass that formula value into the Barcode field using the same Update Record step described above.

Human-readable codes like these also act as a fallback. If a label is damaged or a scanner fails, someone can still read the code and search for the record manually.

Avoiding Duplicate Barcodes

With an Autonumber field, duplicates are not possible because Airtable controls the sequence.

With a random number script, duplicates are statistically unlikely across a 13-digit range but not impossible. For a small base this is probably fine. For a warehouse, asset register, or production workflow, it is worth removing the risk entirely by switching to sequential codes instead.

If your base already has duplicate records before you start adding generated barcodes, clean those up first. Adding unique codes on top of duplicate records creates confusion that is harder to untangle later. How to prevent and remove duplicate records in Airtable covers that cleanup process.

Make the Barcode Useful Beyond Airtable

The generated value should match how you plan to use it outside Airtable.

If you only need an internal scannable ID, almost any unique string works. If you plan to print labels and scan them with standard barcode scanners, keep values simple. Numbers and uppercase letters are safer than long strings with spaces, punctuation, or mixed case.

Generating the value does not automatically print a label. Airtable stores the scannable code, but you still need a separate tool to turn that into a physical label. Common approaches include exporting record data to a label printing tool, generating label PDFs through a document tool, or using an Airtable Interface as the source for printing.

If your goal is to scan a barcode and immediately update a matching Airtable record, that is a slightly different workflow. The barcode field identifies the record, but you still need something to perform the update after the scan. QuickScan is built for exactly that use case, particularly when you want to scan items in and out without opening each record manually.

For a full inventory setup, the barcode field is just one piece. You will typically also want product records, stock movement records, location tracking, and low-stock alerts. How to automate inventory tracking in Airtable covers that broader structure.

The Rule to Remember

When a script cannot write to a field type directly, output the value from the script and use an Update Record action to save it. This pattern applies to Barcode fields specifically, but the same approach works any time Airtable restricts what automation scripts can write directly. The script generates; the action saves.