How to Let Multiple Users Privately Select and Print Records in Airtable Interfaces
You’ve built an Airtable system to manage internal reports. Each record is a document that needs review, such as a policy draft, a project summary, or meeting notes.
Your team uses an interface to browse the list, check details, and keep track of updates.
Now there’s an upcoming meeting. Some team members need specific reports to prepare. They want to go through the list, select the ones that matter to them, and print those out so they can review everything in advance.
But Airtable doesn’t give you a built-in way to do this. You can’t simply select a few rows in the interface and click a button to print them. That option doesn’t exist.
You might think about using a checkbox. Maybe you add a field called Select and let users check the boxes for the records they want. Then you filter by that field and print only the selected records.
But if multiple people are using the same interface, they’re all sharing that checkbox field. One person checks a few records. Another does the same. And when someone filters to print their selection, they might end up with someone else’s instead.
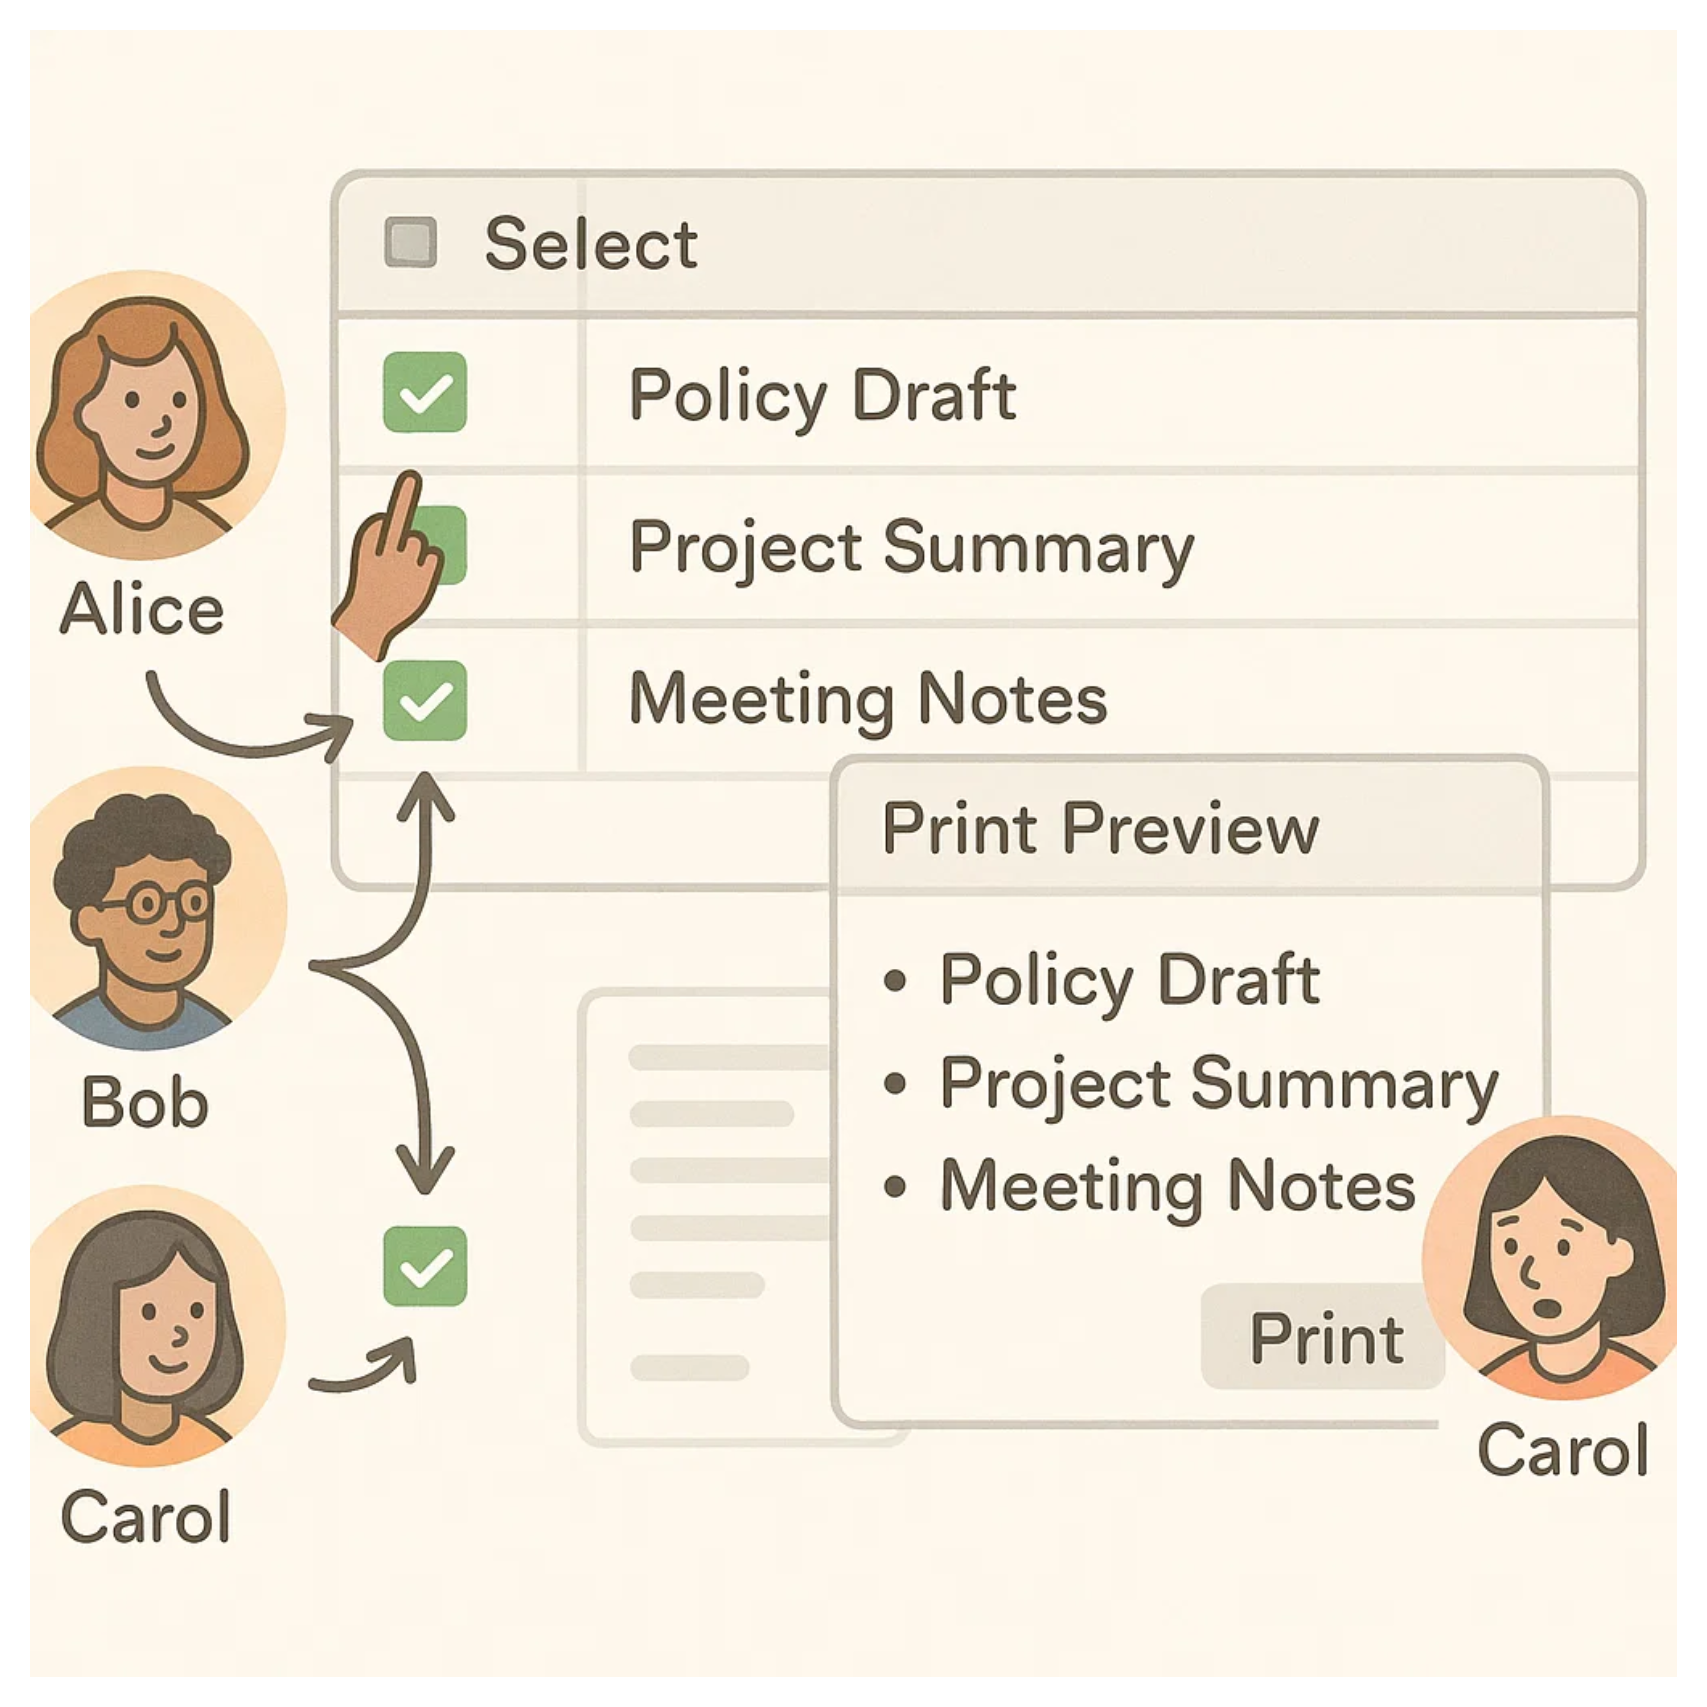
That’s not what you want
You want each user to make their own selection without interfering with anyone else. Their choices should stay private. When they print or export, it should only include what they selected, not what someone else marked earlier.
In this article I’ll walk you through how to build a simple setup that makes this possible.
Each user will be able to select the records they need and print or export them independently, without their selection overlapping with anyone else’s.
1. Create a Users Table
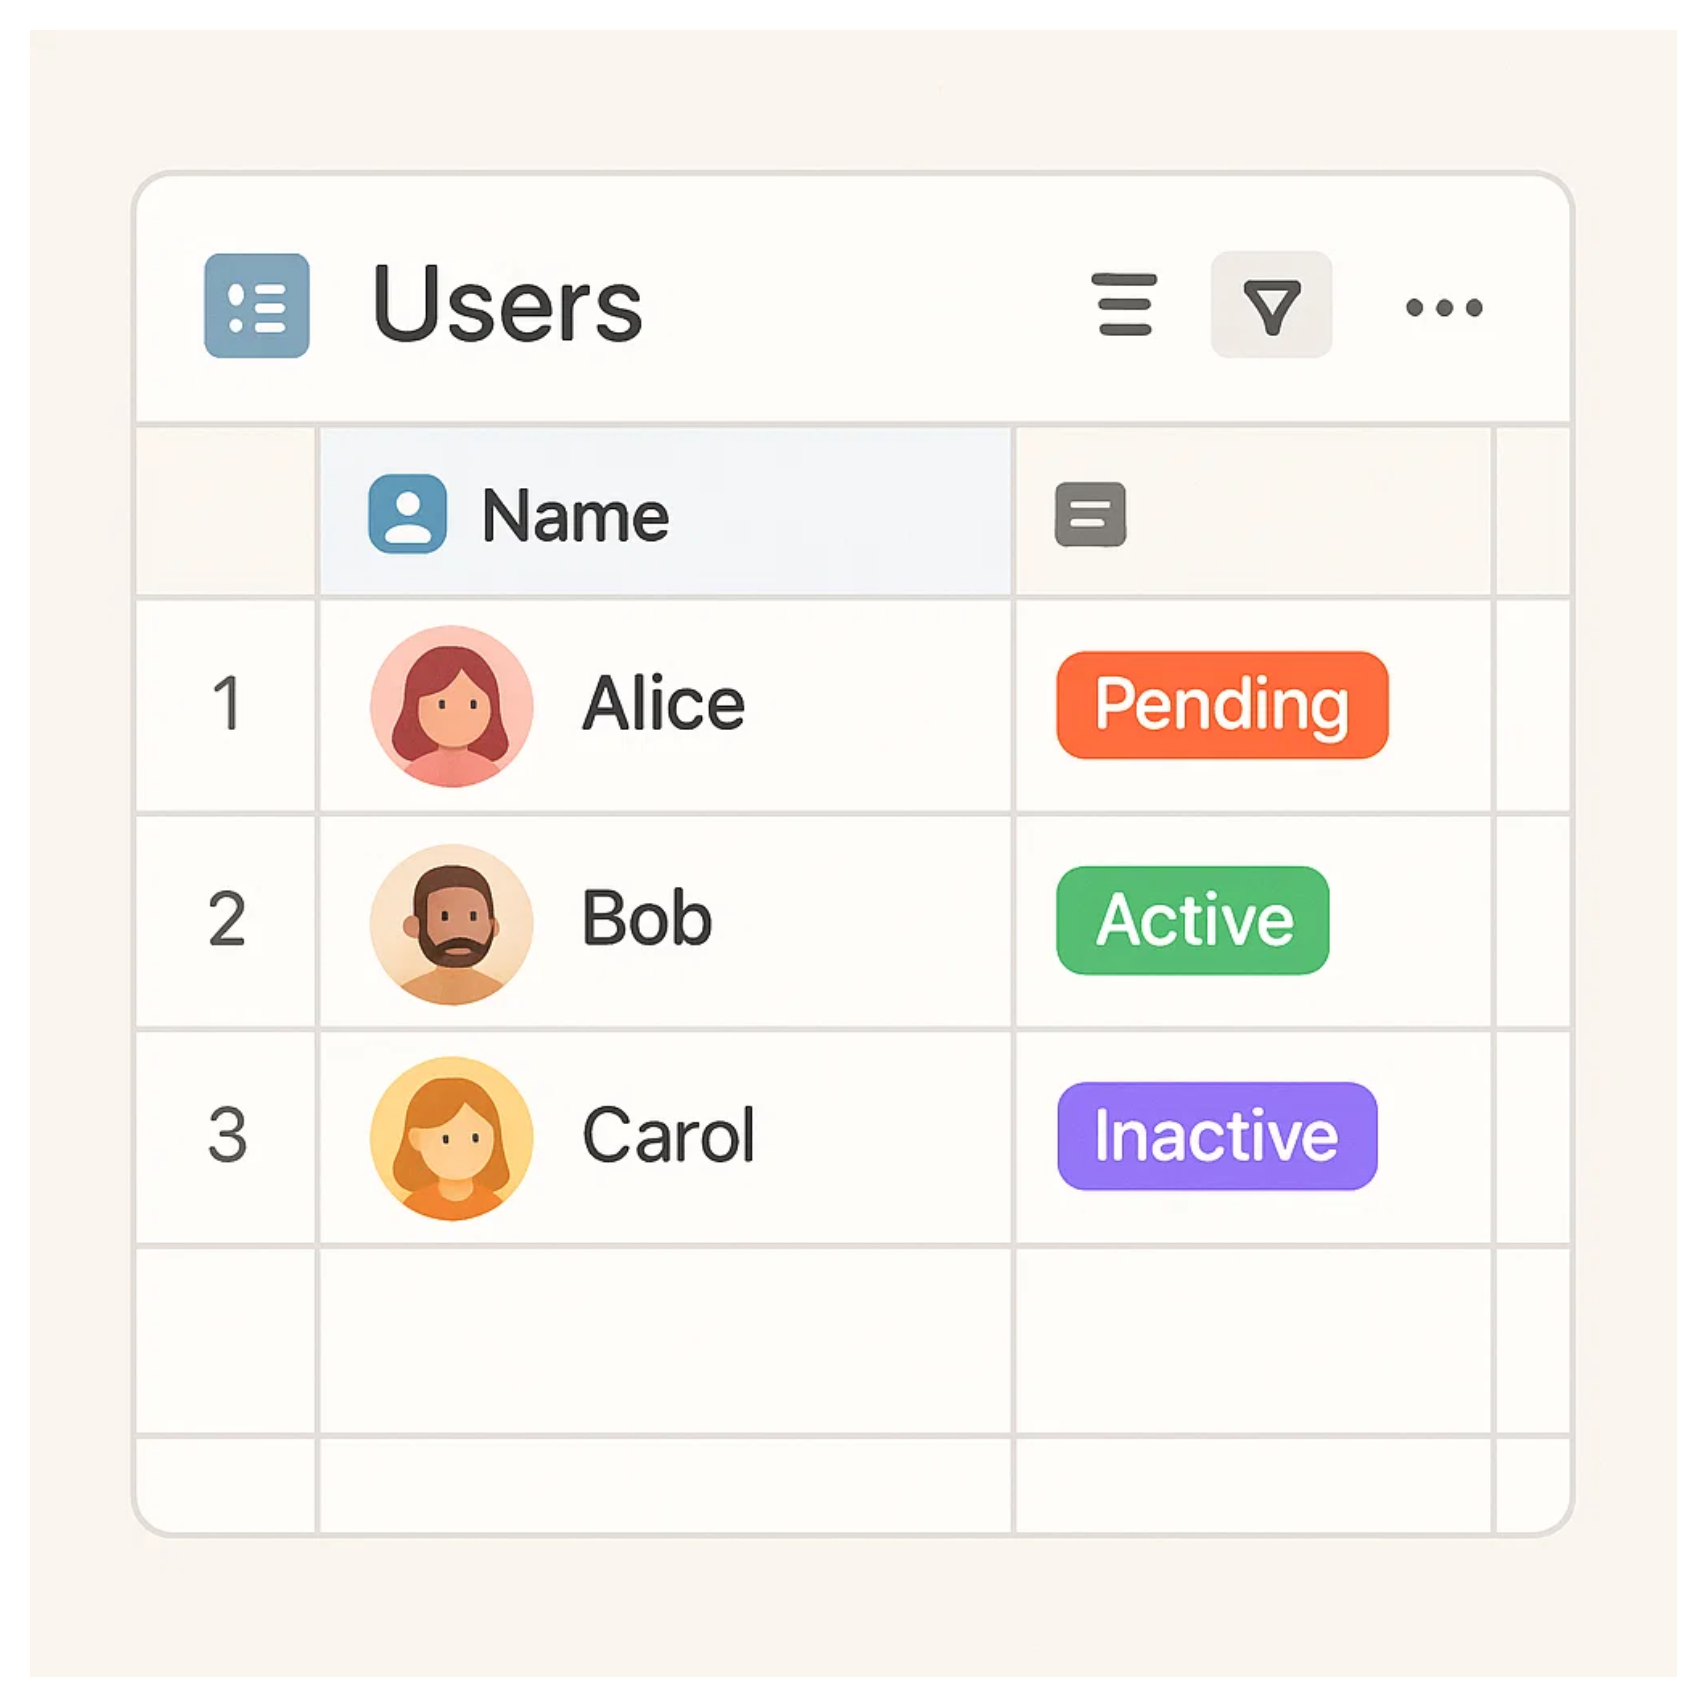
Make a new table called Users. Give it a name field and add one record for each person who needs to make selections.
2. Add a “Selected By” Linked Field
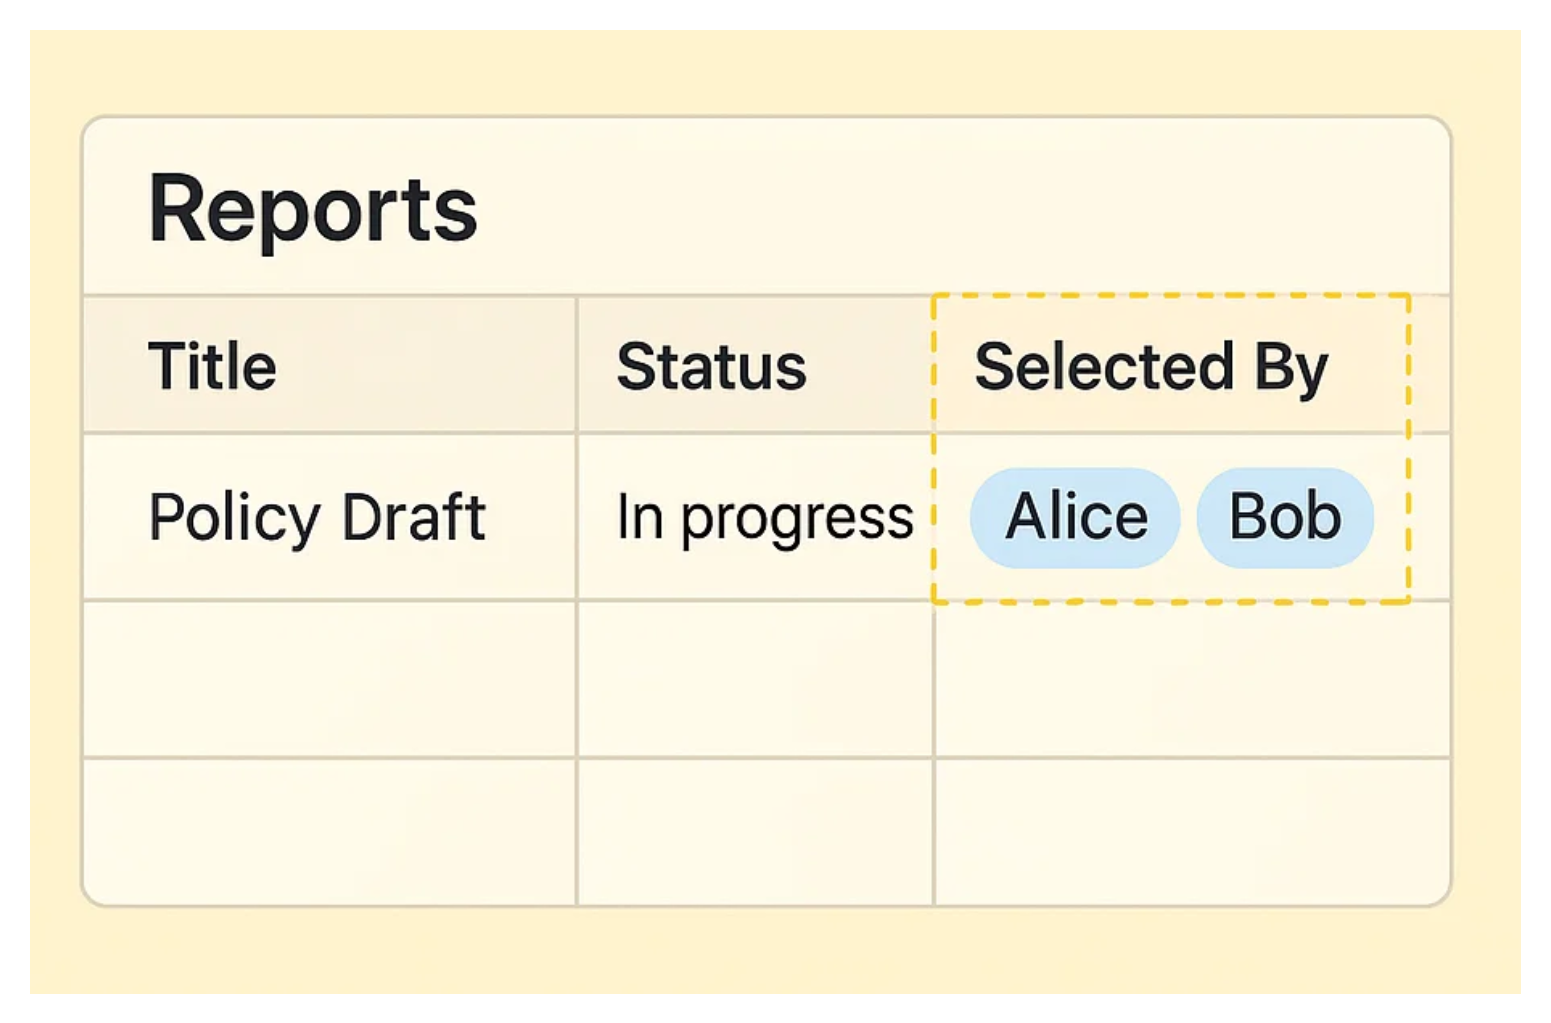
Go to your main table. Add a new linked record field. Link it to the Users table. Call it Selected By.
This replaces the idea of a simple checkbox. Instead of checking a box, users will link a record to themselves to mark it as selected.
Because it’s a linked field, Airtable can store multiple values. This means different users can select the same record independently, without overwriting each other.
3. Build the Interface
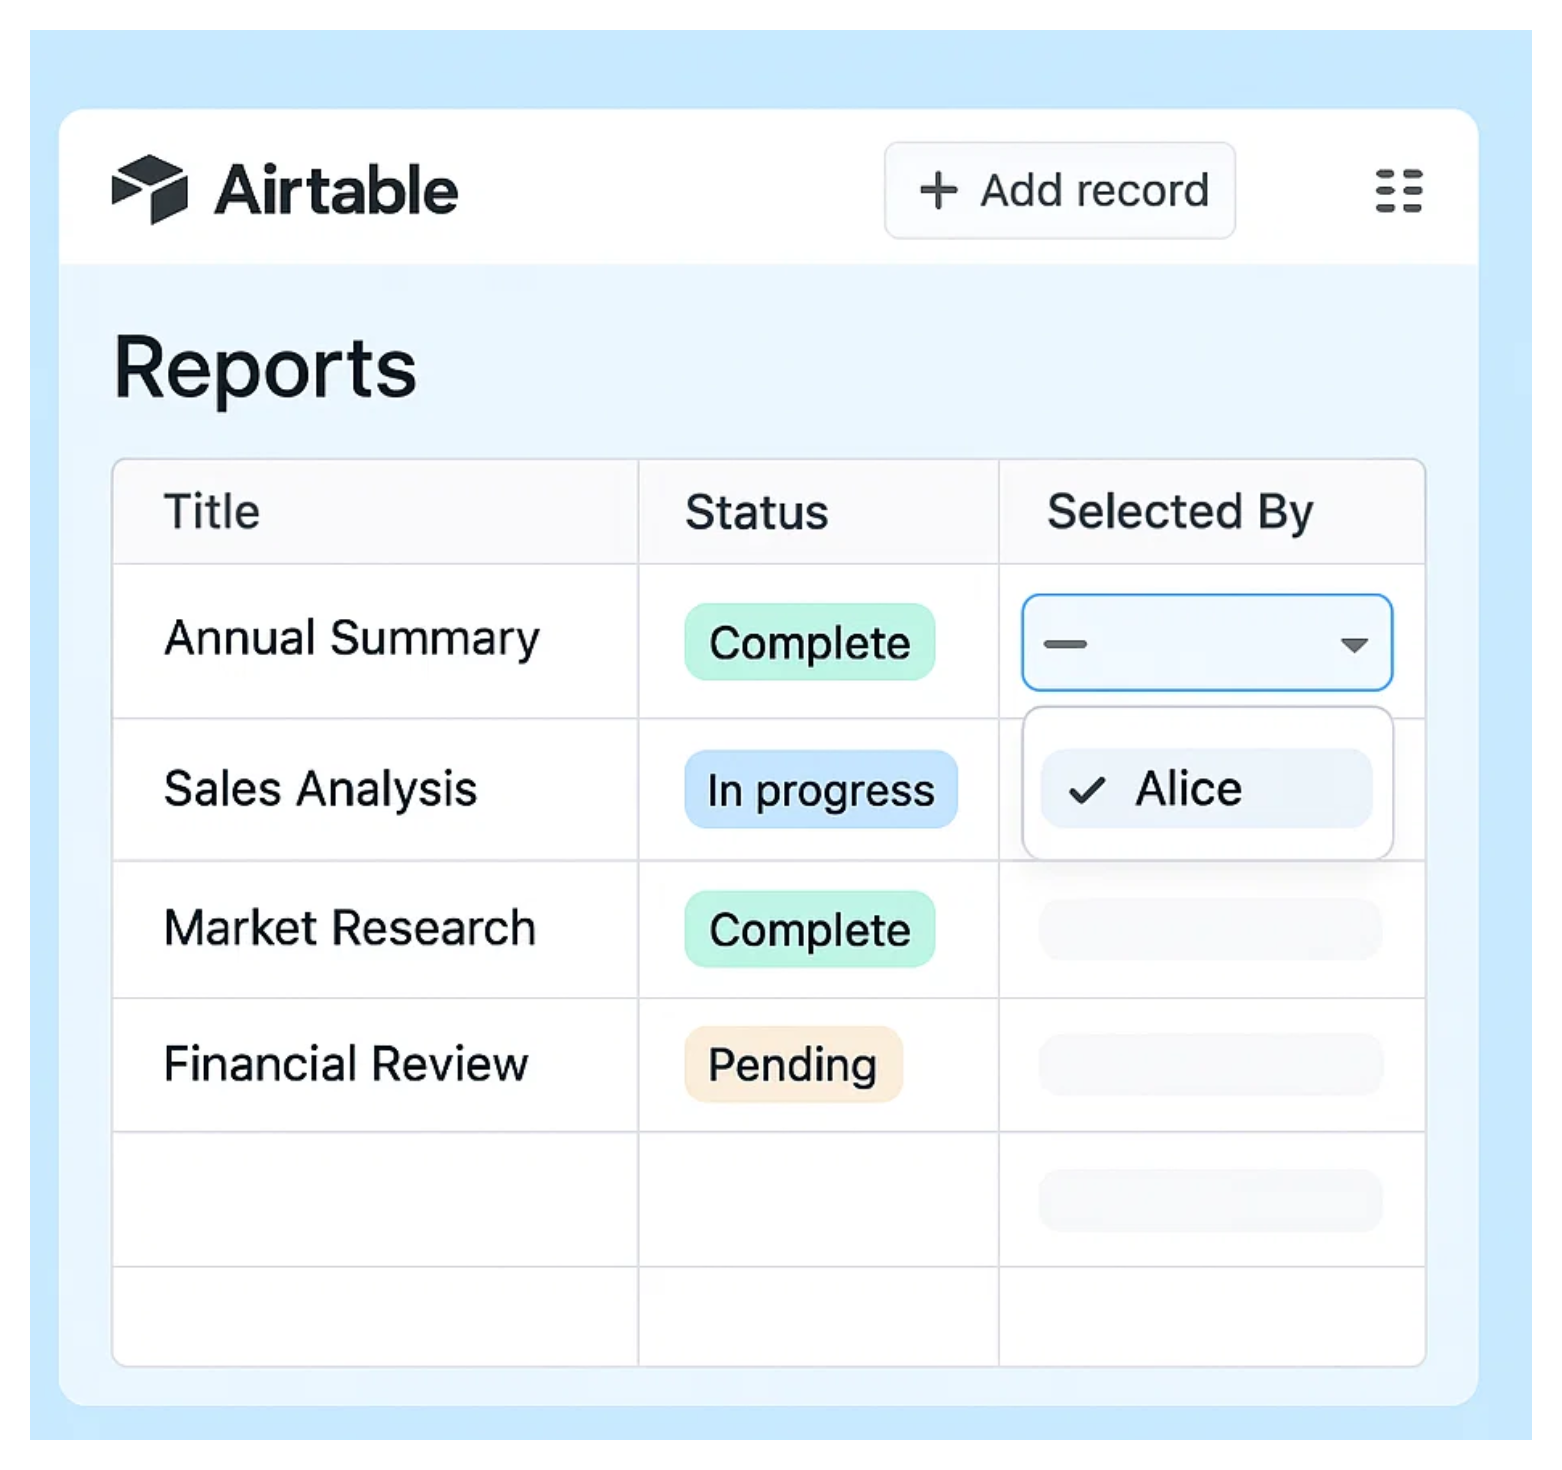
Go to Interfaces and build a layout based on your main table. Add a list or grid that shows the records users will be working with.
Make sure the Selected By field is visible in the layout. This is what users will use to tag the records they want to select. The field should be editable for anyone who has access to the interface.
With this setup in place, each user can go through the list and tag the records they want by adding themselves to the Selected By field.
4. Filter Records by User Selection

After users have tagged the records they want by adding their name to the Selected By field, they can apply a filter in the interface. At the top, set a filter where Selected By is the current user.
This will instantly narrow the list to only the records they’ve selected. From there, they can print or export exactly what they need, without seeing anyone else’s choices.
5 Let Users Export or Print
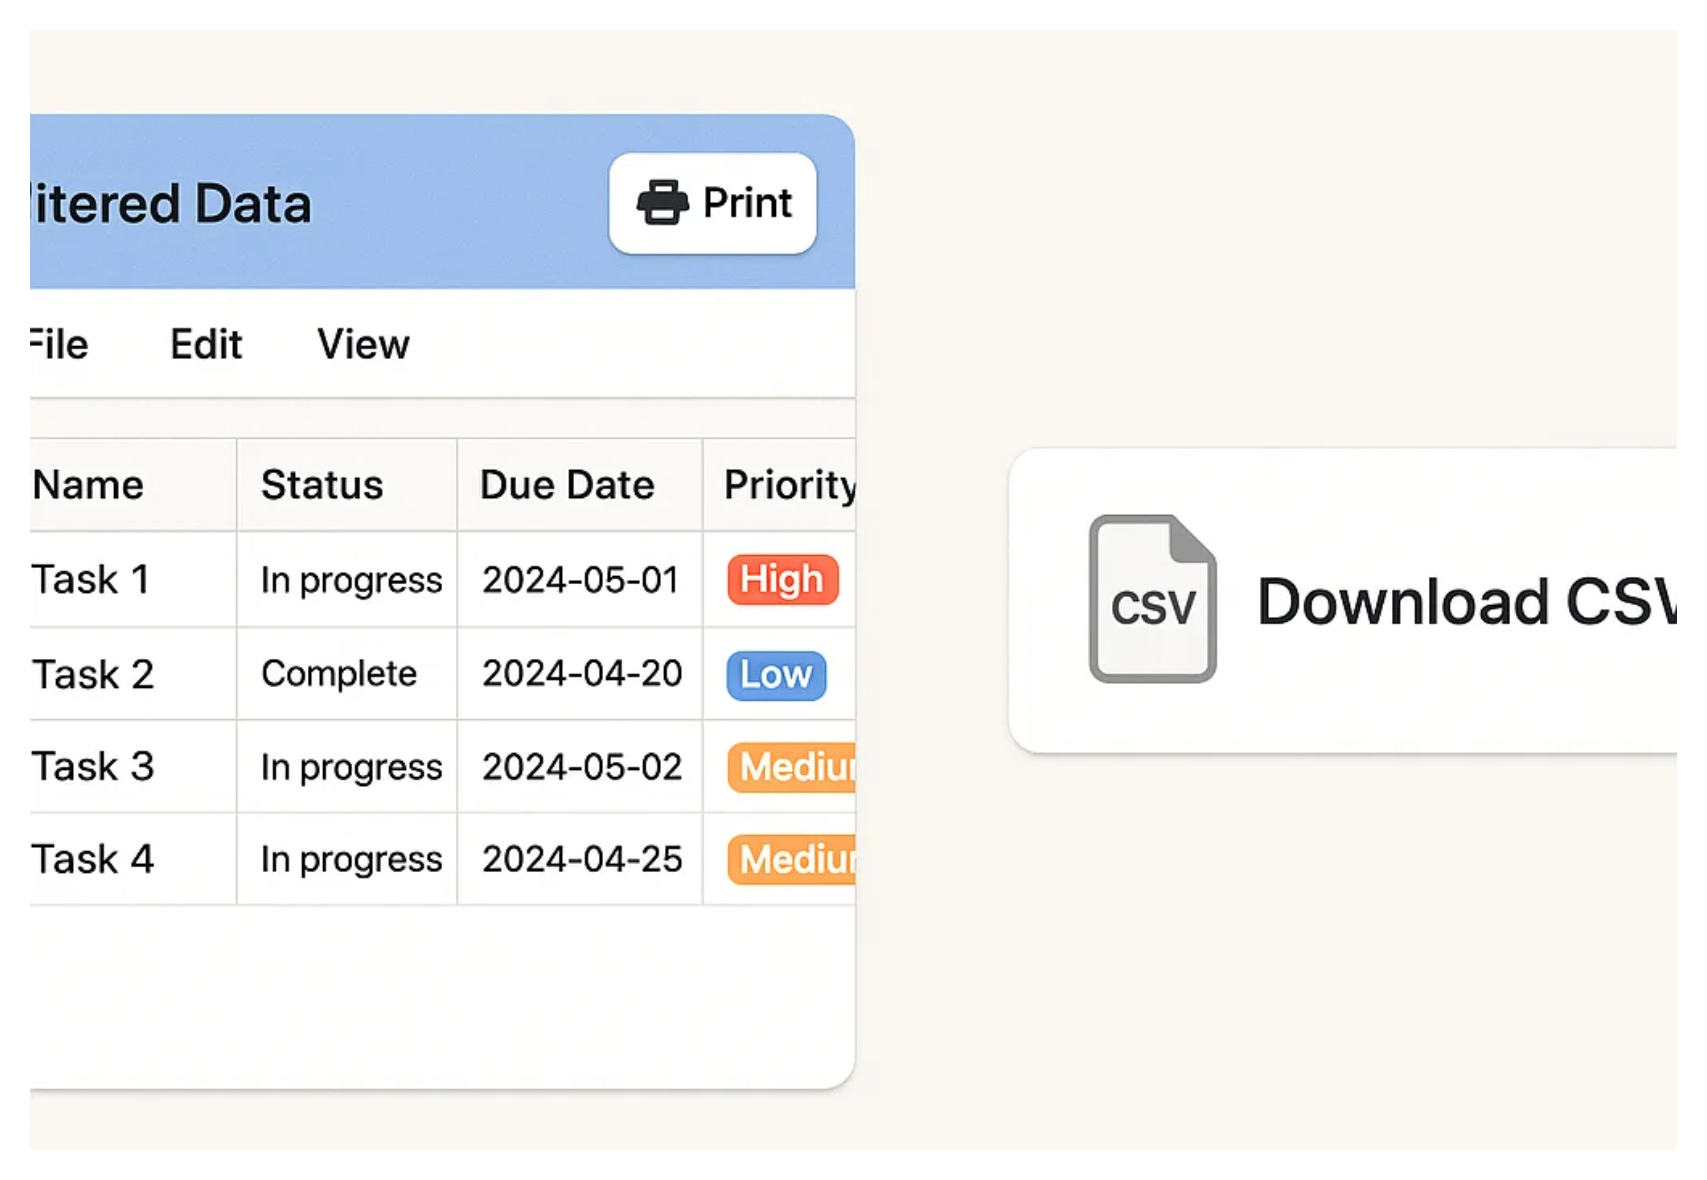
Once a user has made their selection, they might want to export or print it.
You can offer users two ways to save their selected records.
One is to enable the print option in the interface, so they can print their filtered selection directly. The other is to allow CSV downloads, letting them export just the records they’ve selected.
Enable whichever option suits your workflow.
The only drawback with this setup is that it doesn't automatically clear the Selected By field after export or printing. So when a user comes back later to make a new selection, their previous choices are still there. They'll need to manually remove themselves from those records.
If you want to make that easier, you can add a button to the interface that runs an automation. It can find all records selected by the current user and clear their name from the Selected By field. That way, users can reset their selection with a single click.