6 Ways to Share Airtable Interfaces with Clients (With Costs)
You have built your Airtable base, the data is organised, and now you need to give clients access to some or all of it. The question is how.
Airtable gives you several options, and the right one depends on three things: how many clients you have, whether they need to view or also edit data, and how much you are willing to spend per client per month.
Here is a breakdown of every option, what it actually costs, and when it makes sense to use it.
The Quick Decision Guide
If you just want a fast answer:
-
Clients who only need to view: use a public shared interface link (free on Team plan)
-
Clients who need to edit specific records: use Fillout forms embedded in the interface (free)
-
3-15 external users who need login-protected access: use Airtable Portals ($120/month)
-
Many clients with per-client pricing concerns: use Softr or Noloco
-
Large number of clients, flat pricing: use Stacker ($349/month)
-
Full control, have a developer: build a custom frontend via the API
Now here is the full breakdown of each option.
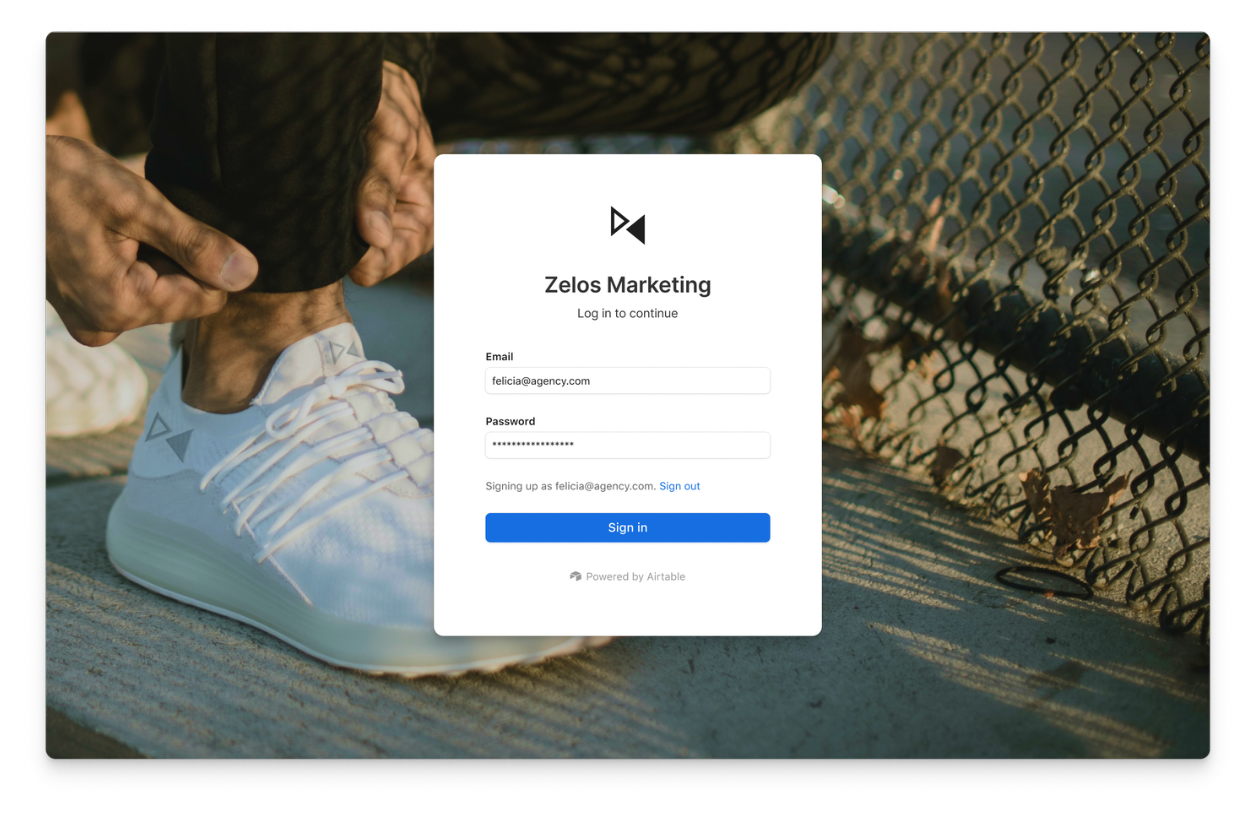
1. Add Clients as Collaborators
The most straightforward option. You invite clients to your workspace or base directly and assign them a role.
How to do it
-
Open your base and click the Share button in the top-right corner
-
Enter the client's email address
-
Select a role: Read-only, Commenter, or Editor
-
Click Invite
They will receive an email and need to create or log into an Airtable account to view the interface.
Cost
Read-only collaborators are free on all plans. There is no limit to how many read-only collaborators you can have.
Commenter and Editor collaborators count as paid seats. On the Team plan that is $20 per seat per month. On the Business plan it is $45 per seat per month.
When to use it
This works well for internal team members who need editor or commenter access. For clients who only need to view data, it also works well since read-only is free.
The limitation is that clients need an Airtable account to log in. If you have clients who are not technical or who resist creating accounts, a public link (Method 2) is easier for them.
2. Public Interface Sharing (Read-Only, No Login)
Airtable lets you share an interface as a public link. Anyone with the link can view the interface without creating an Airtable account or logging in.
How to do it
-
Open the interface you want to share
-
Click the Share button in the top-right corner of the interface builder
-
Toggle on Share publicly
-
Copy the link and send it to your client
You can also embed the interface on a website using the provided embed code, which is useful if clients access it through a client portal or project page you have built elsewhere.
Cost
No additional cost beyond your Airtable plan subscription. Available on Team plan and above.
When to use it
This is the cleanest low-cost option for clients who only need to view dashboards, reports, or read-only data. There is no login friction, no per-seat cost, and no extra tools required.
The limitation is that it is entirely read-only. Clients cannot edit records, fill in forms directly from the interface editor level, or have any kind of personalised view based on who they are. Anyone with the link sees exactly the same data.
If you want to filter the interface so each client only sees their own records, this method does not support that natively. You would need Portals or a no-code tool for that.
3. Airtable Portals
Portals are Airtable's purpose-built solution for giving external users access to interfaces with their own login, without making them full collaborators.
Each portal user gets a login. You can control which interfaces they see. You can also set up interface filters so each user only sees records that belong to them, giving you row-level access control without any third-party tools.
How to set it up
-
In your base, go to Interfaces and open the interface you want to share
-
Click Share and select Invite portal users
-
Enter the client's email address and set their access level
-
Clients receive an invitation email and create a portal-specific login
Cost
Portal pricing is separate from your Airtable plan subscription:
-
Team plan: $120/month for 15 portal users ($8/user/month)
-
Business plan: $150/month for 15 portal users ($10/user/month)
-
Additional users beyond 15 are charged per seat
When to use it
Portals are the right choice when you have a moderate number of external users (roughly 5-20) who need personalised access and a proper login experience. It is the simplest way to do row-level filtering per client without building anything custom.
The cost becomes hard to justify if clients only need occasional access or if you have a large number of them. At 50 clients on the Team plan, you are paying well over $300/month just for portal access.
4. No-Code Frontend Tools
Tools like Softr, Noloco, and Stacker connect directly to your Airtable base and let you build a separate client-facing portal without writing code. Clients log in to your custom portal rather than to Airtable.
These tools give you much more control over the user experience than Airtable's native interface builder, and they handle authentication, permissions, and row-level filtering out of the box.
Softr
Softr is the most popular option in the Airtable ecosystem. You build pages visually, connect them to your Airtable tables, and invite clients to your Softr portal. Clients log in with email and password and see only the records you have given them access to.
Pricing is per-user but much more affordable than Airtable's own per-seat pricing. Free plan available for small use cases. Paid plans start at around $49/month.
Noloco
Noloco is similar to Softr but with a stronger focus on internal tools and more flexible page building. Also charges per user, with pricing starting around $59/month.
Stacker
Stacker uses flat-rate pricing rather than per-user pricing. The Pro plan is $349/month regardless of how many users you have. If you have a large number of clients, this can work out significantly cheaper than per-user tools.
When to use no-code tools
These are worth the setup effort when you need a branded client experience, row-level access control at scale, or features that Airtable interfaces do not support (like custom forms, multi-step workflows, or client-specific dashboards). They are also worth considering when Airtable Portals pricing does not scale well for your client count.
5. Let Clients Edit via Forms
If clients do not need a full interface view and only need to update specific records, forms can replace a proper portal in many situations.
Even in a read-only public interface, you can add button fields that open pre-filled forms. Read-only users can still click buttons. When a client clicks the button, a form opens with the record's current values pre-filled, they make their changes, and the record updates in Airtable.
Fillout is the most capable option for this. Its "choose a record to update" feature lets clients select from a list of records, pick the one they want to edit, and submit changes directly. It handles prefilling, conditional logic, and multi-step forms in ways Airtable's native forms cannot.
Fillout is free for most use cases. Paid plans start at $20/month if you need higher submission limits or advanced features.
For a full walkthrough of how to set this up, see How to Update Existing Airtable Records with Forms.
When to use forms
This is the most cost-effective way to give clients edit access without paying per-seat or per-portal-user costs. It works well when clients need to update specific fields on their own records, such as approving a proposal, updating a project status, or filling in missing information.
It does not work well when clients need to see a full dashboard, navigate between multiple records, or have a rich interactive experience.
6. Build a Custom Frontend
If you have access to a developer or are comfortable with code, you can build a completely custom frontend using Airtable's API.
The frontend (typically built in React or Next.js) handles authentication, displays data fetched from Airtable, and writes changes back via API calls. You have full control over what clients see, how it looks, and what they can do.
Cost
No per-user costs from Airtable. You pay for hosting (usually a few dollars per month on services like Vercel or Netlify). The main cost is developer time to build and maintain it.
When to use it
This makes sense when you are building a product on top of Airtable, when your client experience requirements go well beyond what no-code tools can handle, or when you have a developer available and the long-term per-user savings justify the build cost.
Cost Comparison
| Method | Monthly Cost | Client Login Needed | Clients Can Edit | Per-Client Cost |
|---|---|---|---|---|
| Collaborator (read-only) | Free | Yes (Airtable account) | No | Free |
| Public interface link | Free (Team+ plan) | No | No | Free |
| Airtable Portals | $120/month (15 users) | Yes (portal login) | Yes (if permitted) | $8/user |
| Softr | From $49/month | Yes (Softr login) | Yes | Low per-user |
| Noloco | From $59/month | Yes | Yes | Low per-user |
| Stacker | $349/month flat | Yes | Yes | Free above base cost |
| Custom frontend | Hosting only | Custom | Custom | None |
For related reading on controlling what each client can see and edit once they have access, see How to See and Manage User Permissions in Airtable and How to Restrict User Access by Table, Field, or Row in Airtable.