Airtable Form Fields Not Editable? Here's How to Fix Them
If someone cannot type into an Airtable form field, first check where the form was created. A form in the Forms section or an older Form view uses different settings from a form inside an Interface.
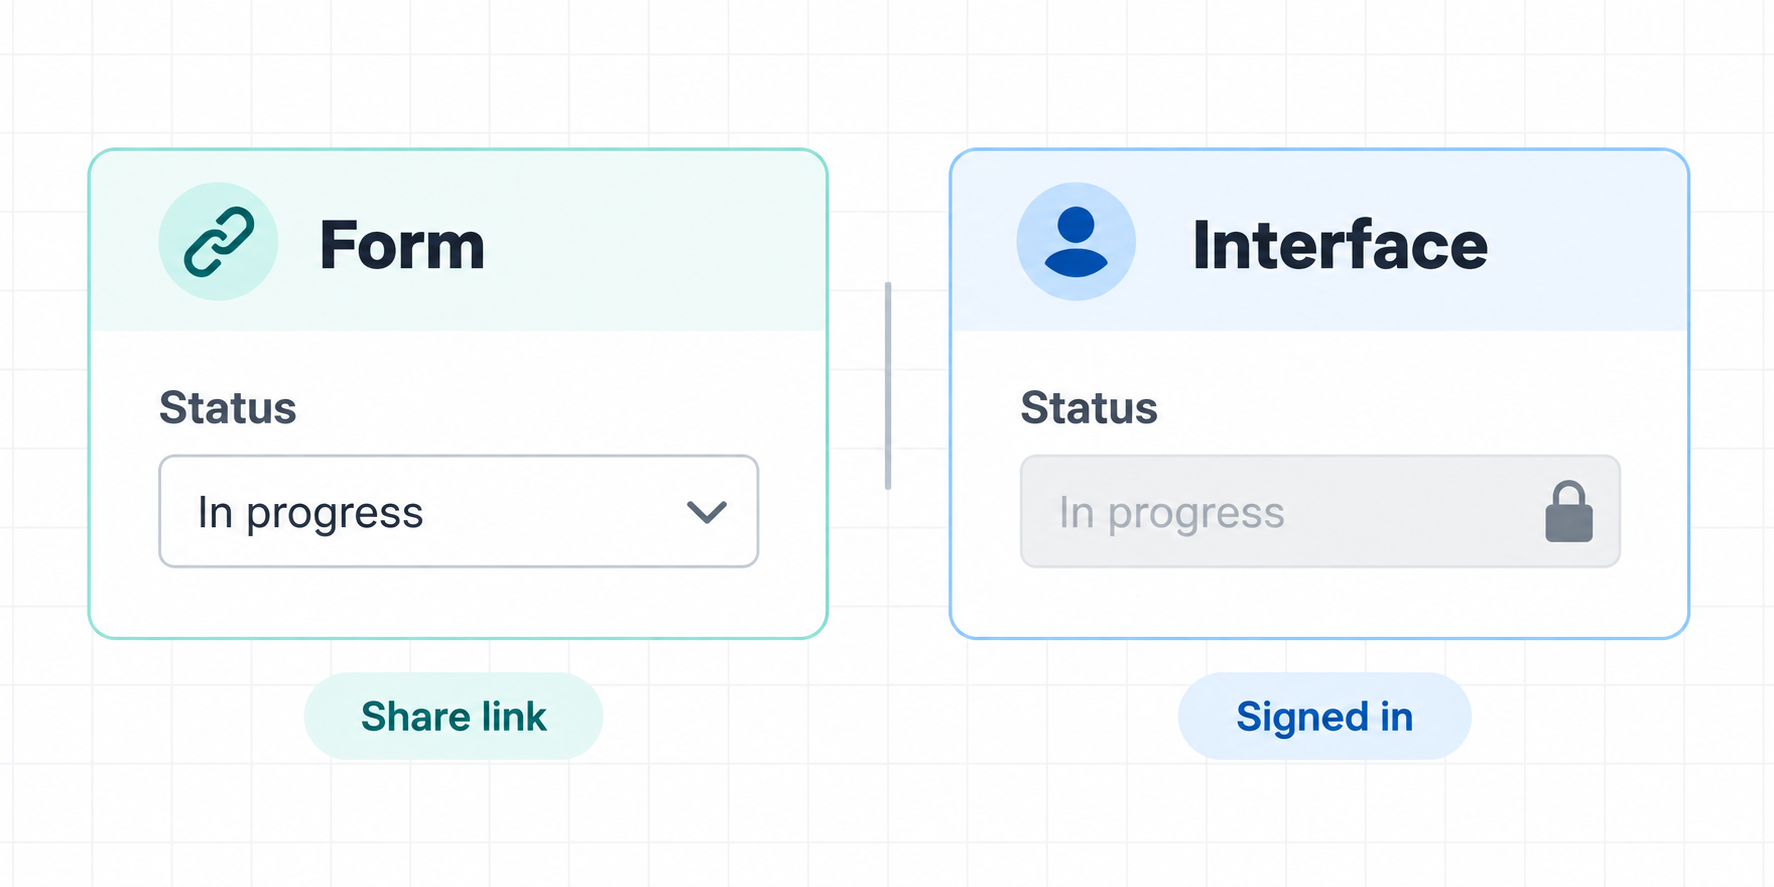
| Where the form lives | What it is | Who can use it |
|---|---|---|
| Forms | The newer form builder for creating standalone forms | Anyone allowed by the form's share settings |
| Form view | Airtable's older standalone form | Anyone allowed by the form's share settings |
| Interface | A form that is part of an Airtable Interface | Signed-in users with the required Interface access |
If the field is in a Form or Form view
A visible field is locked
In the newer form builder, a field becomes locked when it has a default value and Allow users to edit this field is turned off.
- Open the form from the base's Forms section.
- Click the field that people cannot edit.
- Open Rules in the settings panel.
- Under Default value, turn on Allow users to edit this field.
If people should enter the value themselves, remove the default value instead. Then click Publish form.
The editing setting is missing
You may be editing an older Form view. The Allow users to edit this field setting is part of the newer form builder.
Open the Form view and click Upgrade to new forms. Then open the field in the new form builder and check its Default value settings.
The field is missing completely
Formula, lookup, rollup, count, and linked record count fields are calculated by Airtable. They do not accept input, so Airtable does not show them as fields people can fill in.
For example, if Total adds Quantity and Price, add Quantity and Price to the form. Airtable calculates Total after the form is submitted.
If someone needs to enter the value themselves, create a number or currency field instead of using a formula field.
If the form is inside an Interface
An Interface form is part of an Interface, so it follows Interface permissions. It is not a public form just because you copy and share its URL.
People need a signed-in Airtable account and Editor access or higher to submit an Interface form or create records through it. If they only need to submit information without opening an Interface, create the form from the base's Forms section and share that form instead.
If you are editing an existing record through an Interface, open the Interface in edit mode and select the record detail page. Under User actions, check Edit fields:
- Choose Inline if people should edit fields directly on the record.
- Choose Form if people should click Edit and submit their changes together.
Base field permissions still apply. If a base Owner or Creator has restricted a field, open the base, click the arrow next to the field name, and select Edit field permissions. The Interface cannot give someone more access than the base allows.
Publish and test the form
After changing a form, click Publish form. Open the shared link in a new browser tab and test it as the person who will submit it.
If Airtable shows Refresh page to submit form, see how to fix the “Refresh page to submit form” error in Airtable. That message is a submission error, not a locked field setting.