How to Move a Table from One Airtable Base to Another
Airtable does not have a native option to move a table from one base to another. There is no "Move to base" button, no drag-and-drop between bases, nothing obvious in the menus.
This is a problem that comes up constantly: you built something in the wrong base, you are reorganising a workspace, you are splitting a large base into smaller ones, or you inherited a base and need to restructure it. Whatever the reason, you are stuck figuring out a workaround.
There are three methods that work. Which one is right for you depends on whether you are on a paid plan and how much of the table structure you need to preserve.
What "Moving" a Table Actually Means in Airtable
Before getting into the methods, it is worth understanding what moving a table really involves, because the answer changes what method makes sense.
A table in Airtable is not just data. It is data plus field types, plus linked record relationships, plus formulas that reference other fields, plus views with their own filters and groupings, plus any automations that reference this table, plus any interfaces built on top of it.
When you "move" a table to a new base, none of these methods move all of that. Every method below moves the raw data reliably. What varies is how much of the structure comes with it.
The linked records issue is the most painful one. Linked record fields connect two tables inside the same base. If you move one of those tables to a different base, the link breaks, because cross-base linked records are not supported in Airtable. You cannot link a record in Base A to a record in Base B. This is a fundamental Airtable limitation, not a bug in the method you are using.
If your table has linked records that connect to other tables you are not also moving, plan for that before you start.
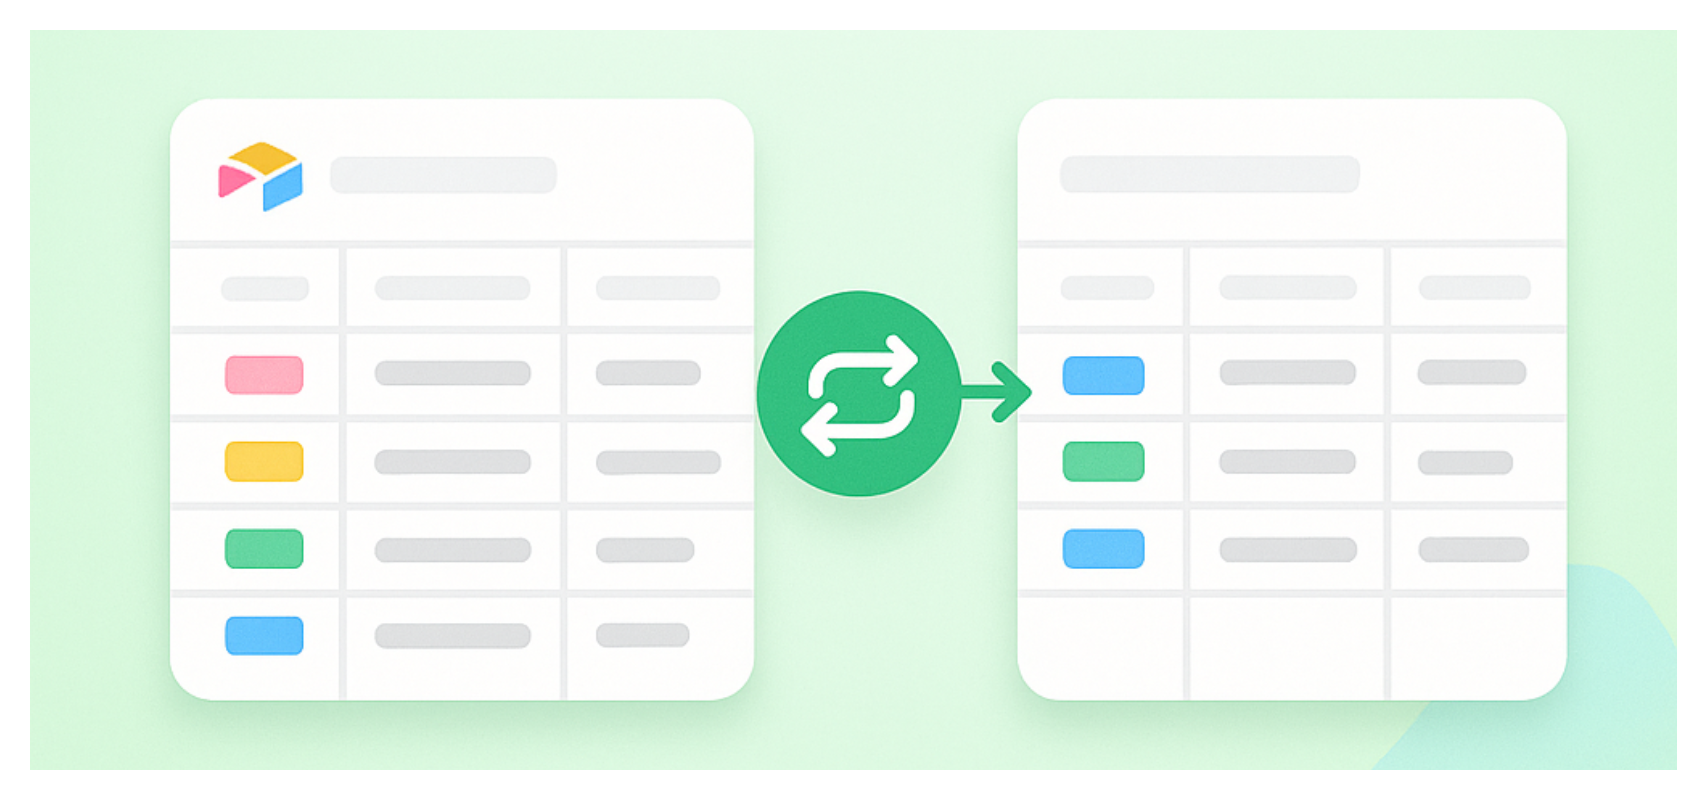
Method 1: Sync Then Unsync (Paid Plans Only)
This is the cleanest method if you are on a paid Airtable plan. It preserves field types and keeps the data consistent during the transition.
How to do it
Step 1: In the source base, click the table name tab at the top and select Share and sync from the table menu.
Step 2: Choose Sync to a new base or Sync to an existing base and select the destination base.
Step 3: Configure the sync. You can choose which fields to include and set the sync direction.
Step 4: Let the sync run. The data will appear in the destination base as a synced table.
Step 5: Once you have confirmed everything looks correct in the destination base, click the synced table's menu and select Unsync. This converts the synced table into a regular editable table, cutting the dependency on the source.
Step 6: Delete the original table from the source base once you are confident the destination copy is complete and working.
What this method preserves
-
All records and their values
-
Most field types (text, number, date, select, attachments, checkboxes, etc.)
-
Field names and descriptions
What this method does not preserve
-
Linked record fields (these become text fields in the synced copy)
-
Formulas that reference linked fields (they lose their source data)
-
Views from the source table (you need to recreate these in the destination)
-
Automations referencing this table (you need to update these manually)
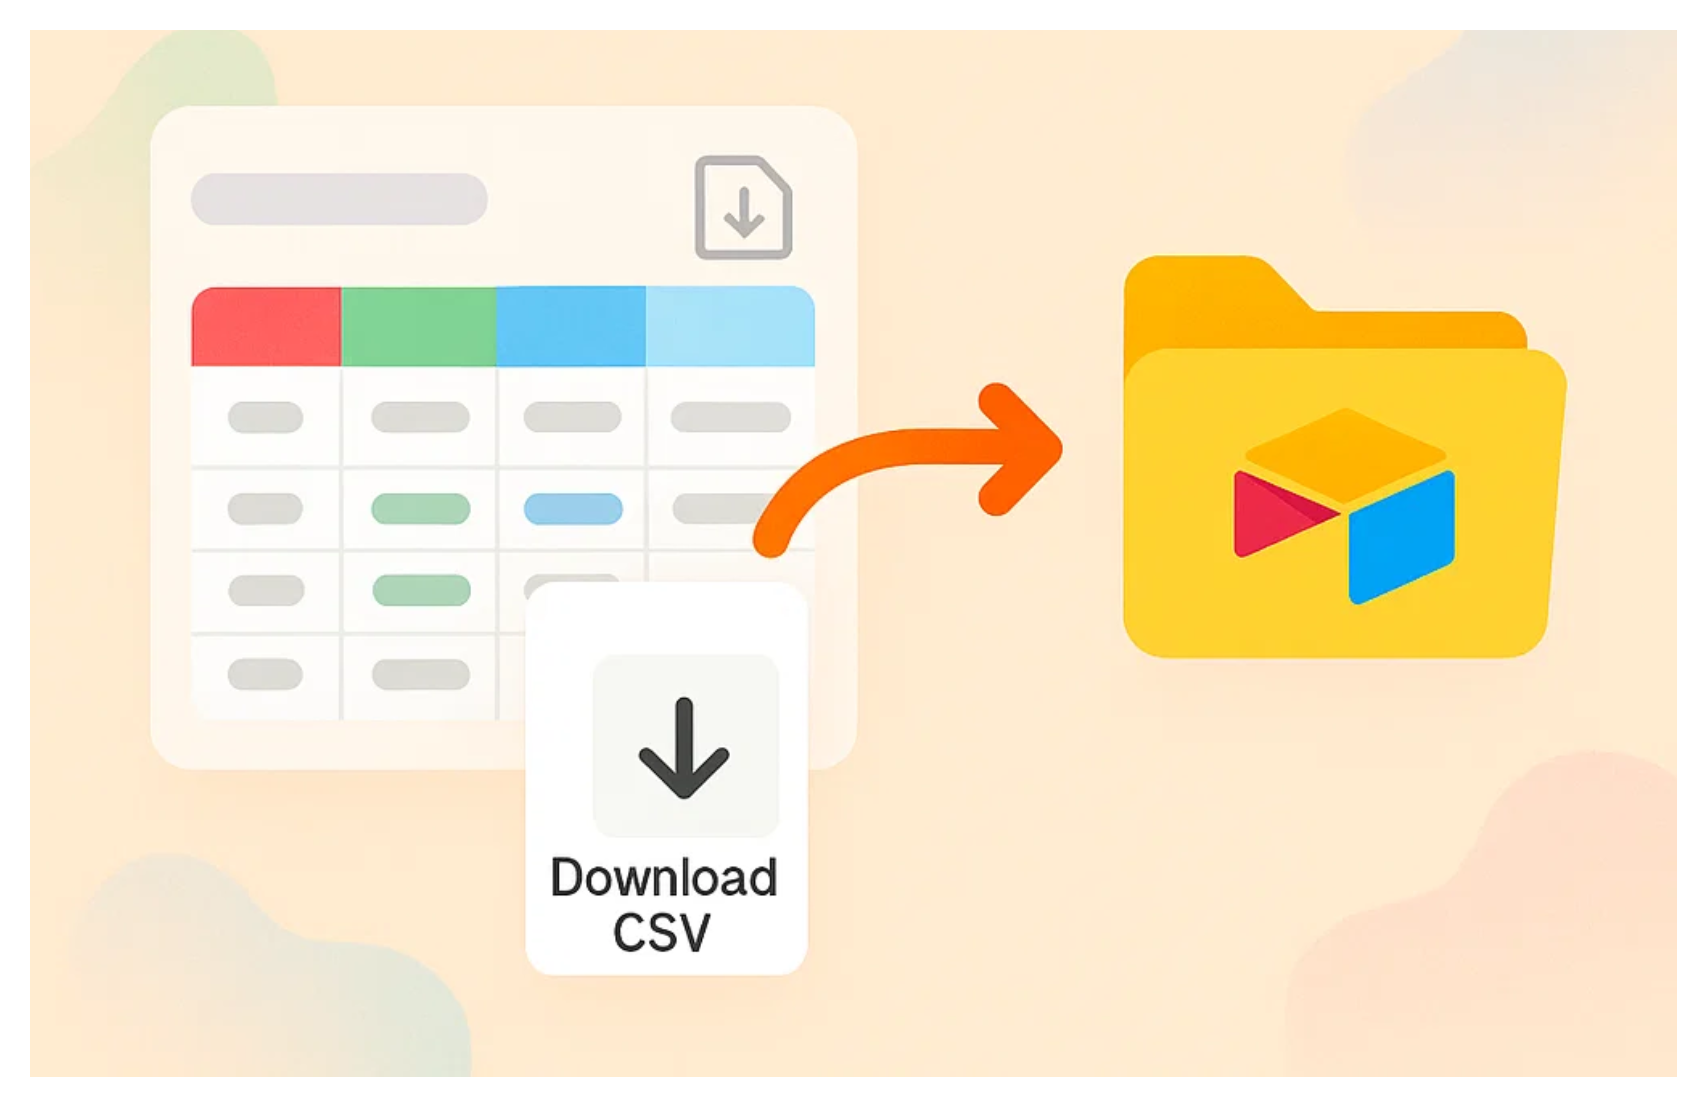
Method 2: Export as CSV and Re-import (All Plans)
This method works on the free plan and requires no special features. It is the most universally available option but also the most manual.
How to do it
Step 1: Open the table you want to move in the source base.
Step 2: Click the ... menu next to the table name and select Download CSV.
Step 3: Go to the destination base and create a new table.
Step 4: In the new table, click Add or import and choose CSV file. Select the file you just downloaded.
Airtable will import the records and attempt to match the data to appropriate field types based on what it finds in the CSV.
What this method preserves
-
All records and their raw values
-
Text, number, and date data comes through cleanly
What this method does not preserve
-
Field types (everything comes in as text and needs to be manually reconfigured)
-
Select and multi-select options (these need to be recreated)
-
Linked records (these come in as plain text containing the linked record names, not actual links)
-
Attachments (attachment URLs come through but the files are not transferred)
-
Formulas (these come in as their calculated values, not as formulas)
-
Views (need to be recreated from scratch)
This method is best suited for simple tables with mostly text and number fields where you are willing to spend time fixing up the field types afterward.
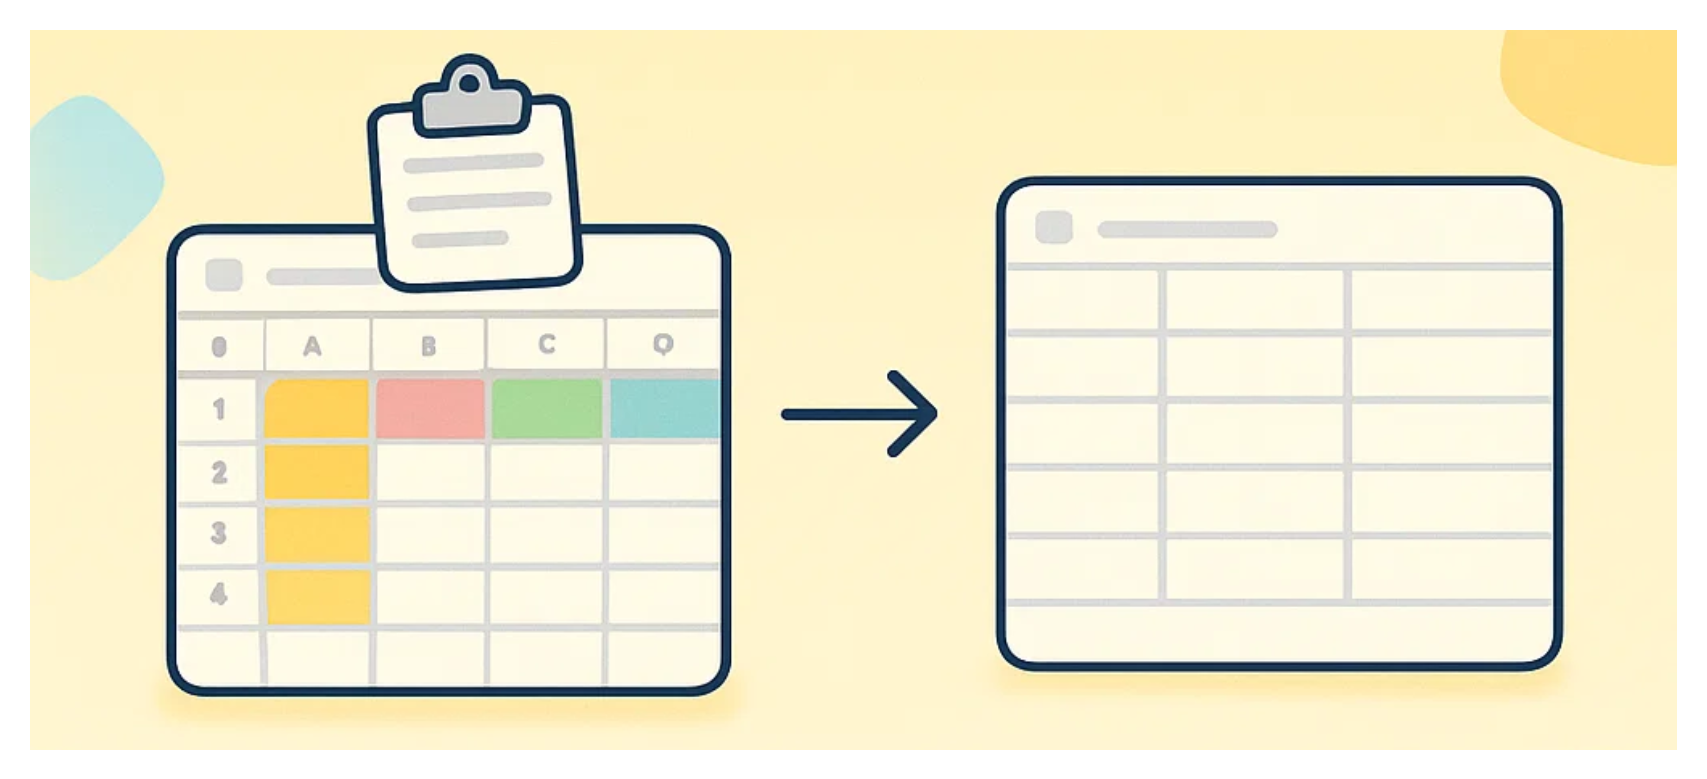
Method 3: Copy and Paste (All Plans)
Copy-paste is the fastest method for small tables and preserves slightly more than CSV because Airtable can interpret richer data when pasting into an existing table structure.
How to do it
Step 1: In the source base, open the table and switch to a grid view showing all the fields you want to copy.
Step 2: Click any cell, then press Cmd + A (Mac) or Ctrl + A (Windows) to select all records.
Step 3: Press Cmd + C or Ctrl + C to copy.
Step 4: Go to the destination base and create a new table with the same fields already set up. Click into the first cell of the first record row.
Step 5: Press Cmd + V or Ctrl + V to paste.
What this method preserves
-
All records and their values
-
Works slightly better than CSV for select fields if the destination table already has the same options configured
What this method does not preserve
- The same limitations as CSV: linked records, formulas, attachments, and views all need manual work afterward
This method works well for tables with under a few hundred records. For very large tables, CSV is more reliable because copy-paste can behave unpredictably when the clipboard is holding a large amount of data.
Which Method to Use
| Sync and Unsync | CSV Export | Copy and Paste | |
|---|---|---|---|
| Requires paid plan | Yes | No | No |
| Preserves field types | Mostly | No | No |
| Handles large tables | Yes | Yes | Risky |
| Linked records transferred | No | No | No |
| Manual cleanup needed | Some | Significant | Significant |
If you are on a paid plan, use sync and unsync. It is faster and requires less cleanup.
If you are on the free plan or the sync feature is not available, CSV export gives you a reliable copy of the data that you can then rebuild the structure around.
Copy-paste is useful for quick moves of small, simple tables where you just need the data over fast.
After the Move
Once the data is in the destination base, there are a few things to check:
-
Recreate linked record fields. For any field that was a linked record field in the source, delete the text version that came across and create a new linked record field pointing to the right table in the new base. Then manually re-establish the links.
-
Rebuild formulas. Formulas that referenced linked fields will need to be rewritten once the linked records are back in place.
-
Update automations. Any automation in the source base that referenced the moved table will need to be updated or recreated in the destination base.
-
Recreate views. Views do not transfer with any method. Recreate filters, groupings, and sorts in the destination table.
For related reading on working across Airtable bases, see How to Copy Data From One Airtable Base to Another for approaches that sync data automatically rather than doing a one-time move. If you are reorganising because your base has grown too large, When to Use One Airtable Base vs. Multiple covers how to think about the decision before you restructure.