How to Reorder Records in Airtable Grid View
You can move rows in an Airtable grid view by dragging them into a new position. When dragging does not work, check whether the view is sorting the records automatically.
I'll use a Tasks table as the example. The team wants to move an important task to the top of the list without changing its status or due date.
Turn off automatic sorting
Open the grid view and click Sort. If the view is sorting records automatically, turn off Automatically sort records.
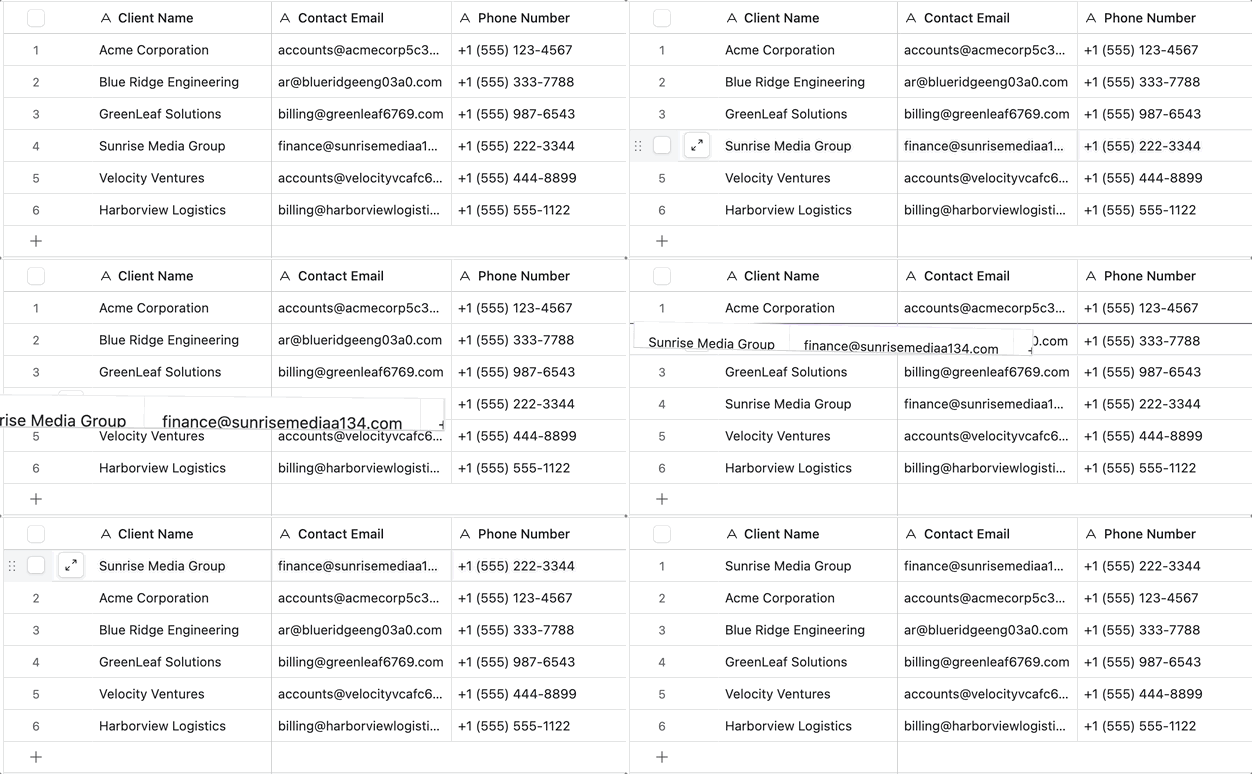
With automatic sorting off, you can drag records using the handle on the left side of each row.
Drag a record into a new position
Hover over the row you want to move. When the drag handle appears on the left, click and hold it, then move the row above or below another record.
For the Tasks table, you could drag an urgent task to the top of the list. Airtable saves that order for the current grid view.
Keep the same order in other views
The manual order belongs to that view. If another grid view, Interface, or gallery needs the same order, add a number field called Position.
Give the tasks values such as 10, 20, and 30, then sort the view by Position from smallest to largest. To move a task, change its number. To place a new task between 10 and 20, give it a value such as 15.
This order is stored on each record, so you can use the same Position field in several views. For more ways to keep views in the same order, see how to keep record order consistent across Airtable views.
Reorder records in an Interface
If your team works in an Airtable Interface instead of the base, use a Grid, List, or Kanban layout with Manual sort and Edit records inline enabled. See how to let users reorder records in an Airtable Interface.