How to Send a Confirmation Email After an Airtable Form Submission
Most form tools — Google Forms, Typeform, JotForm — have a built-in option to email the submitter a copy of what they just filled out. It is one of the most basic things you expect a form to do.
Airtable forms do not have this feature.
When someone submits your Airtable form, the data lands in your table and that is it. The submitter gets nothing. No confirmation, no copy of their responses, no acknowledgement that it went through.
For a lot of use cases this is fine, but for anything where the person submitting needs to keep a record — event registrations, job applications, service requests, client onboarding — it is a real gap.
Here are three ways to fill it.
Method 1: Use Airtable's Native Send Email Automation
If you want to stay entirely inside Airtable with no third-party tools, you can set up a simple automation to send a confirmation email whenever a form is submitted.
This is the most straightforward approach and works on all Airtable plans.
How to set it up
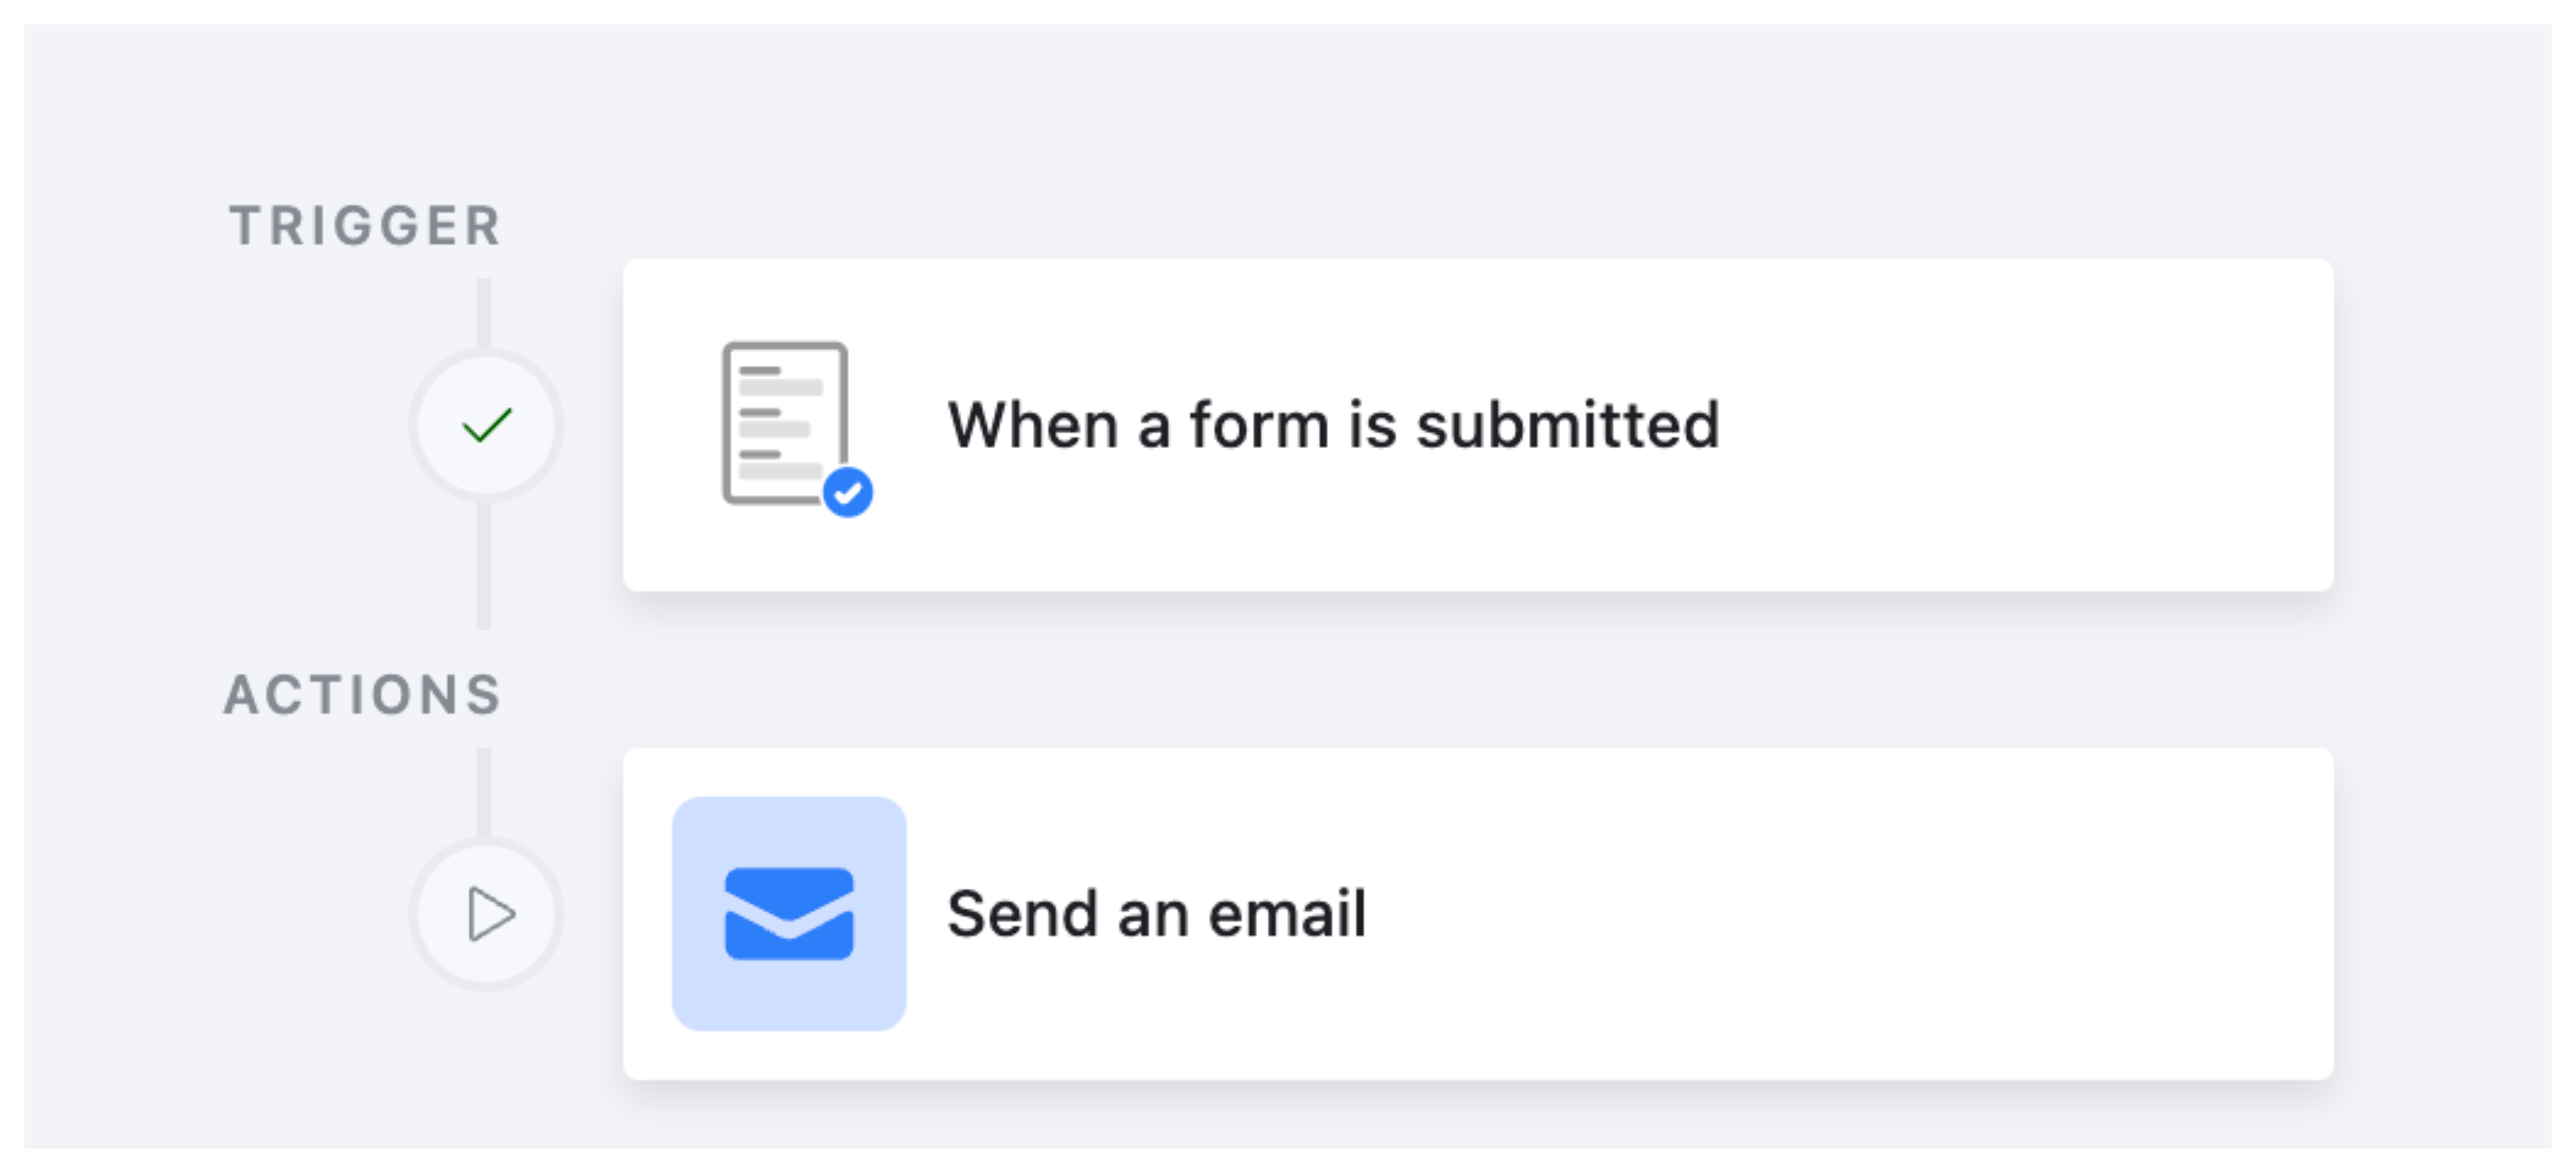
Step 1: Create the automation trigger
In your base, click Automations in the top toolbar. Create a new automation and set the trigger to When a form is submitted. Select the form you want to use.
Step 2: Add a Send email action
Click the plus button to add an action and choose Send email.
In the To field, click the blue field picker and select the field from your form that collects the submitter's email address. This is what tells Airtable where to send the confirmation.
Step 3: Write the email
For the subject, something simple works well: "We received your submission" or "Thanks for submitting — here's your copy."
For the body, write a short message and then use the field picker to insert the values from the form. For example:
Thanks for submitting. Here's what we received:
Name: [Name field]
Email: [Email field]
Message: [Message field]
You can include as many or as few fields as you want. If the form is long, it is worth thinking about which fields actually matter to the submitter rather than dumping everything.
Step 4: Test and turn on
Run a test submission through your form to confirm the email arrives and the fields are populated correctly. Then toggle the automation on.
What this method cannot do
The native Send email action has some limitations worth knowing before you commit to it:
-
The email is sent from a generic Airtable address (
[email protected]), not your own domain. This can look unprofessional and may land in spam for some recipients. -
You cannot add attachments or send a PDF copy of the submission.
-
The formatting is plain text only — no logo, no brand colours, no HTML layout.
-
You cannot add a calendar invite link or any dynamic buttons.
If any of those matter for your use case, one of the next two methods will serve you better.
Method 2: Use Fillout Forms
Fillout is a form builder that connects directly to Airtable. You replace your Airtable form with a Fillout form, and the responses still land in your Airtable table — but you get a much wider set of features on top, including proper confirmation emails.
With Fillout, you can:
-
Send a branded confirmation email to the submitter immediately after they submit, with a full copy of their responses
-
Send a separate notification email to yourself or your team
-
Attach a PDF copy of the submission to the confirmation email
-
Include dynamic content in the email based on what the person submitted
-
Add calendar invite links so the submitter can add an event directly to their calendar
The form itself also works natively with Airtable — it reads your table structure, maps to your fields, and writes responses back just like a native Airtable form would. Fillout has a generous free plan that covers most standard use cases.
This is the cleanest option if confirmation emails are important to your workflow and you want them to look professional.
Method 3: Use Make
If you are already using an automation tool like Make to connect Airtable with other apps, you can use the same tool to handle confirmation emails. This gives you the most flexibility of any option here.
The basic structure is:
-
Trigger: A new record is created in your Airtable table (which happens when someone submits the form)
-
Action: Send an email via Gmail, Outlook, SendGrid, or whichever email service you use
Because you are using your own email account or a transactional email service, the email arrives from your actual address rather than Airtable's no-reply address. You also get full HTML control over the email layout, so you can add your logo, format the content properly, and make it look like a real confirmation from your business.
What you can do with Make that you cannot do natively
-
Send the email from your own domain
-
Use a proper HTML email template with branding
-
Attach files or documents to the confirmation email
-
Trigger additional steps in the same workflow, like adding the submitter to a CRM or a mailing list
-
Build conditional logic — for example, sending a different confirmation email depending on what the person selected in the form
Make has a free tier that includes enough operations for most small-scale form setups. If your form gets a high volume of submissions, you may need a paid plan.
Which Method Should You Use
| Native Automation | Fillout | Make / Zapier | |
|---|---|---|---|
| Setup difficulty | Easy | Easy | Moderate |
| Sends from your domain | No | Yes | Yes |
| HTML email formatting | No | Yes | Yes |
| PDF attachment | No | Yes | Yes |
| Free to use | Yes | Yes (free plan available) | Yes (free tier available) |
| Conditional email logic | No | Limited | Yes |
For most people who just need a simple "here's what you submitted" confirmation, the native Airtable automation is enough and requires no additional tools.
If you need the email to look professional and come with a PDF or a calendar link, Fillout is the quickest way to get there.
If you are already using Make for other workflows and want full control, routing through your automation tool is the most flexible option.
One More Thing Worth Knowing
If your form is collecting appointment bookings, you can extend any of these methods to include a calendar invite link in the confirmation email — so the person can add the appointment to their calendar with one click, rather than doing it manually.
For instructions on how to set that up with Airtable and Make, see How to Send Confirmation Emails from Airtable with Calendar Links.
If you want to go further and let people update their submitted responses through a form — for example, letting a client change their appointment details after booking — see How to Update Existing Airtable Records with Forms.