Need to know when a job entered each stage and how long it stayed there? Store each stage as its own Airtable record instead of adding another pair of date fields to the main record every time the process changes.
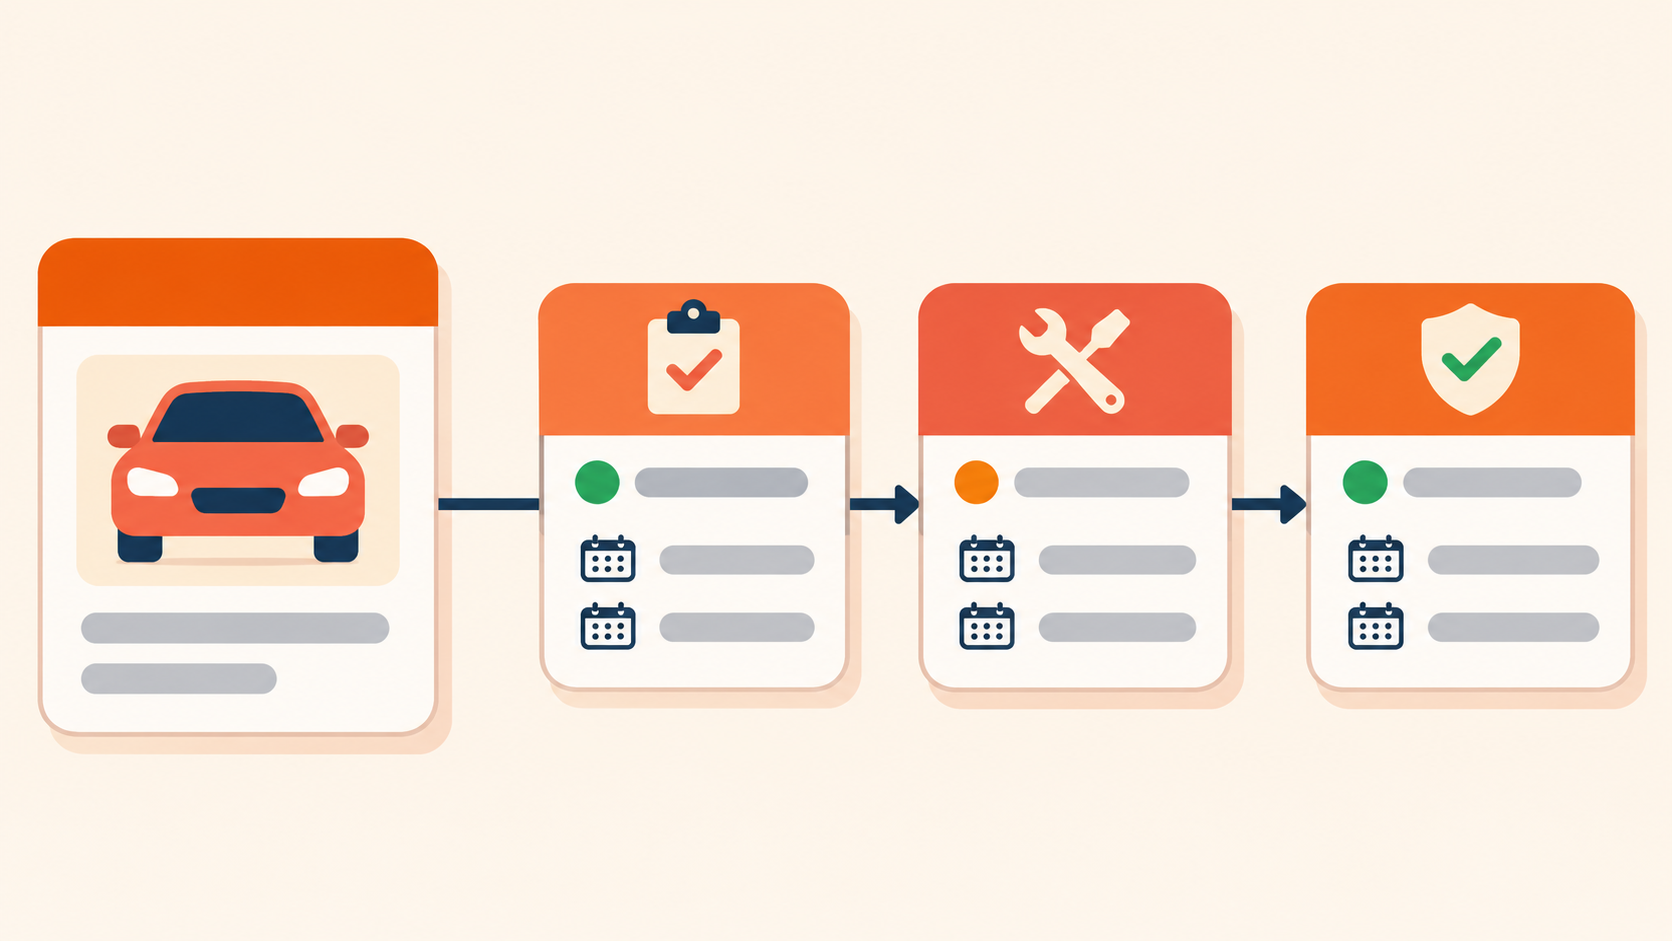
Let’s use an automotive repair shop as the example. A repair moves through Intake, Waiting for approval, Repair, Quality check, and Ready for pickup. Each repair can have several stage records, and every stage record can store its own dates, notes, and assigned person.
Create the Repairs table
Start with a Repairs table. Add the information that belongs to the repair itself, such as:
- Repair number
- Customer
- Vehicle
- Current status
Make Current status a Single select field with the stages used by the shop. This field shows where the repair is now.
Create the Repair Stages table
Create a second table called Repair Stages. Add a Repair field and choose Link to another record, then select Repairs.
Add these fields to Repair Stages as you create the workflow:
- Stage, as a single select field
- Stage status, with options such as Not started, In progress, and Complete
- Started at, as a date field with time turned on
- Completed at, as a date field with time turned on
- Notes, as a long text field
Create one Repair Stages record for each stage in the repair. Link all of them to the same repair. For example, the repair with number R-1042 can have one stage record for Intake, another for Waiting for approval, and another for Repair.
This keeps the dates with the stage they describe. If the vehicle returns to Repair later, create another stage record instead of overwriting the first repair period.
Stamp the start and finish times
Use automations to fill the date fields when the stage status changes.
Create an automation with the When record matches conditions trigger and select the Repair Stages table. Set the condition to Stage status is In progress.
Add Update record and select the triggering Repair Stages record. Set Started at to the automation's actual run time.
Create a second automation for Stage status is Complete. Use another Update record action to set Completed at to the actual run time.
The same pattern works for every stage record. You do not need a separate automation for Intake, Repair, Quality check, and every other stage because the automation watches Stage status, not the value in Stage.
If someone creates a stage record with Stage status already set to In progress, the matching-conditions trigger will not treat the creation itself as a status change. Start new stage records as Not started, then change the status when work begins.
Calculate time spent in each stage
Add a formula field called Hours in stage to Repair Stages:
IF(
  AND({Started at}, {Completed at}),
  DATETIME_DIFF({Completed at}, {Started at}, 'hours')
)
The field stays empty until both dates exist. Once the stage is complete, it shows the number of hours between the start and finish times.
If you need the current duration for an unfinished stage, add another formula that compares Started at with NOW(). Use that field for live monitoring, and use Hours in stage for completed work.
Show the history on the repair
Open a repair record in an Interface and add a list of linked Repair Stages records. Sort the list by Started at so the stages appear in the order they happened.
Add Stage, Stage status, Started at, Completed at, Hours in stage, and Notes to the list. The repair record now shows its current status, while the linked list shows the full path that got it there.
To find delays, group the Repair Stages table by Stage and summarize Hours in stage. This shows which part of the repair process takes the most time across all vehicles.
For more on designing linked tables around a process, see how to design event-based relationships in Airtable.